I know! I know! I've been bad and not blogged for simply ages! Unfortunately a rather busy day job takes up much of my time and when you add in general stuff such as housework etc, I'm surprised I find any time at all to do crafting let alone post to my blog!
However, I've been making little boxes today (hence the title. Couldn't get the song out of my head all afternoon) so I thought I'd share a photo tutorial too. :o)
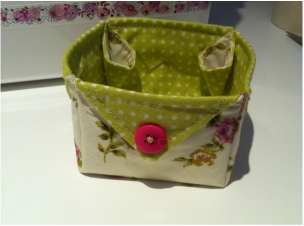
So here it is, a little fabric box 3" x 3" square and 2" high. Just perfect for a small trinket box or to keep odds and ends in.
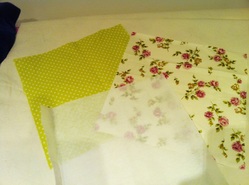
We start off with the following materials:
x1 piece 8" x 8" Outer fabric
x1 piece 8" x 8" Lining fabric
x1 piece 8" x 8" Fusible interfacing (to stiffen the sides of the box)
And that's it! :o)
x1 piece 8" x 8" Outer fabric
x1 piece 8" x 8" Lining fabric
x1 piece 8" x 8" Fusible interfacing (to stiffen the sides of the box)
And that's it! :o)
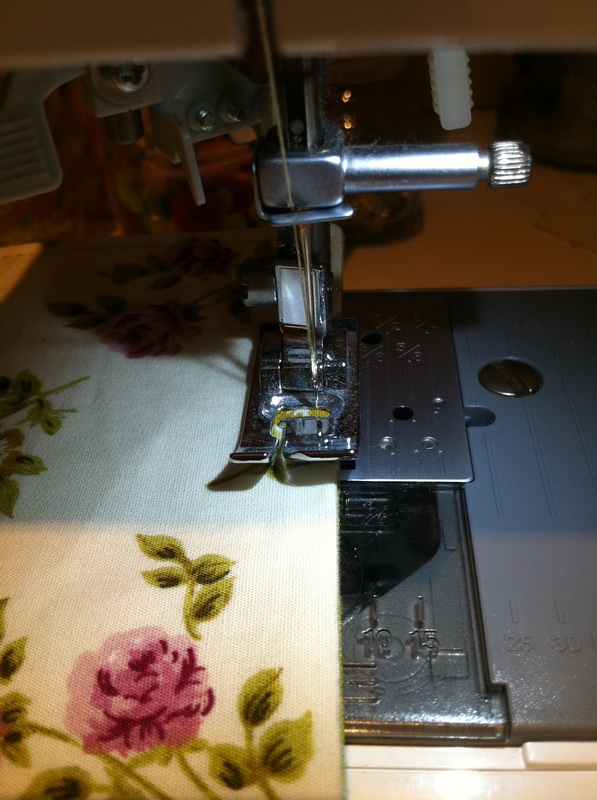
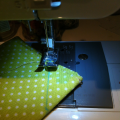
Firstly we fuse the interfacing to the Outer fabric piece and then with right sides together, line up the edges of the outer and lining fabric and sew all around with a 1/4" seam allowance leaving a gap along one edge in order to turn the fabric right sides out.
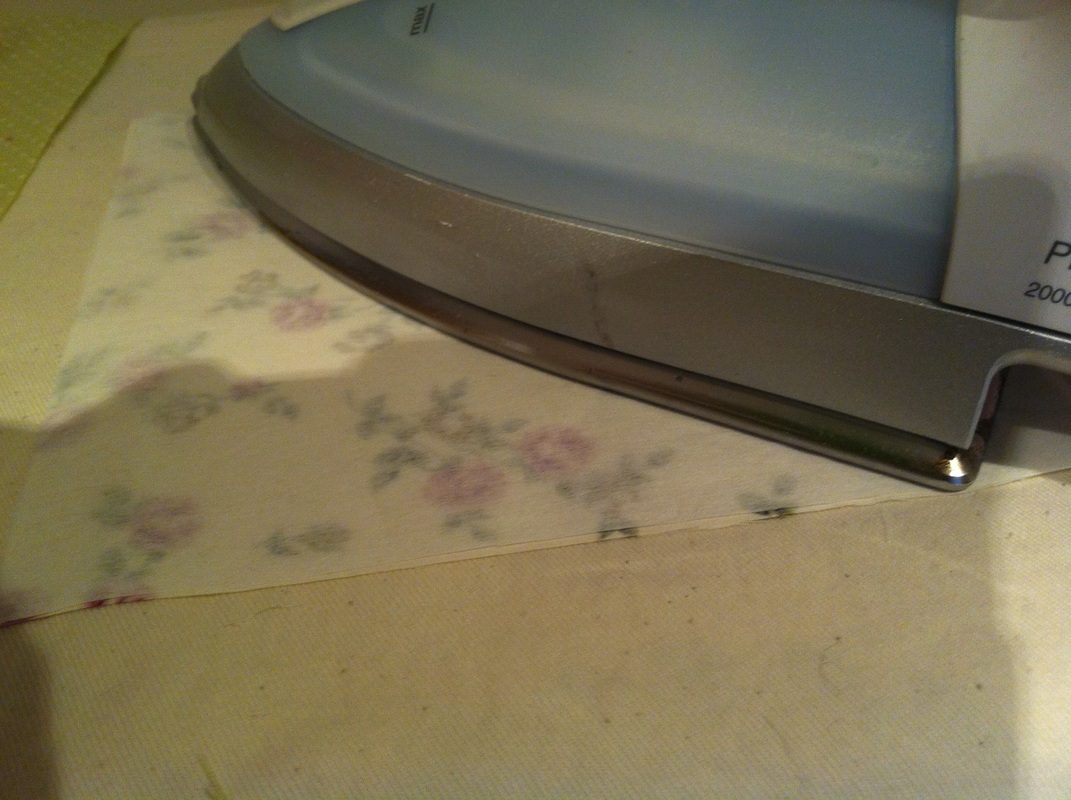
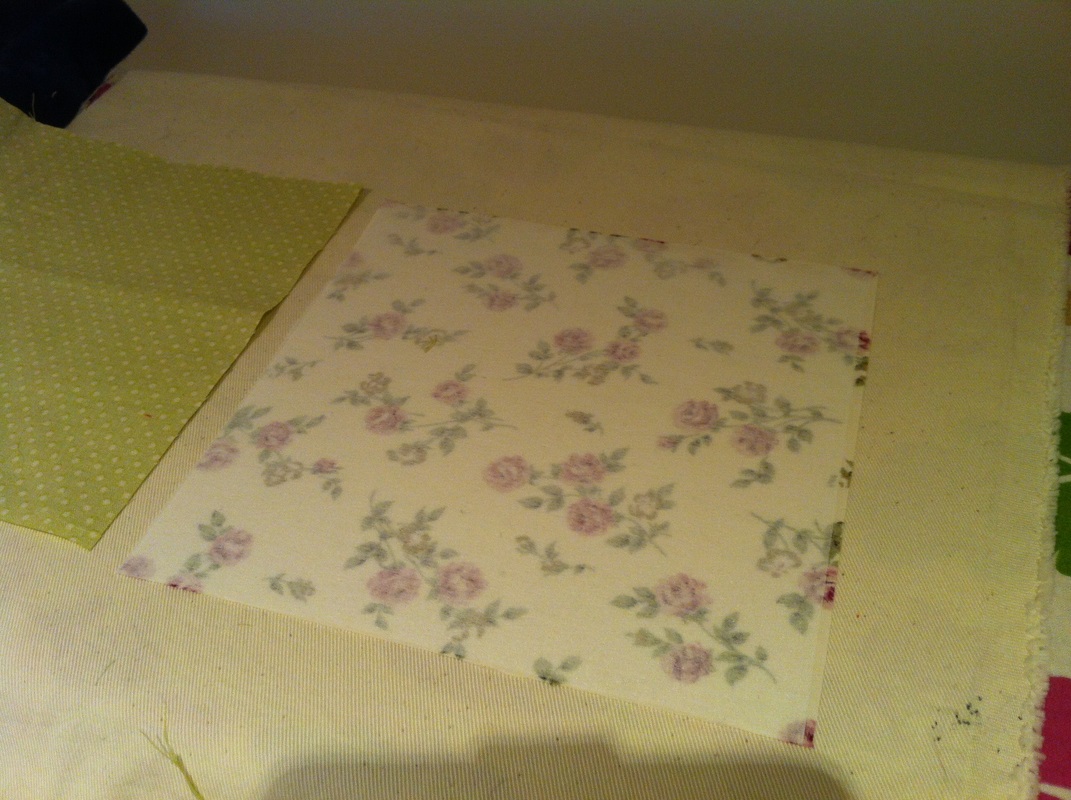

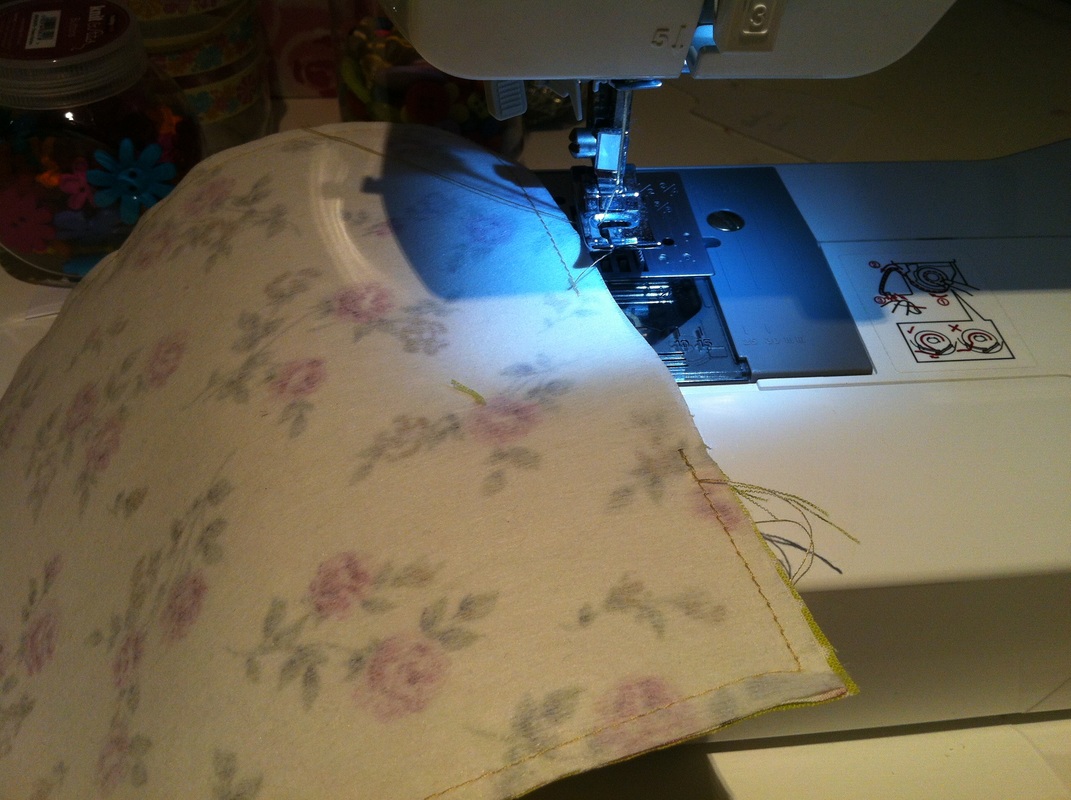
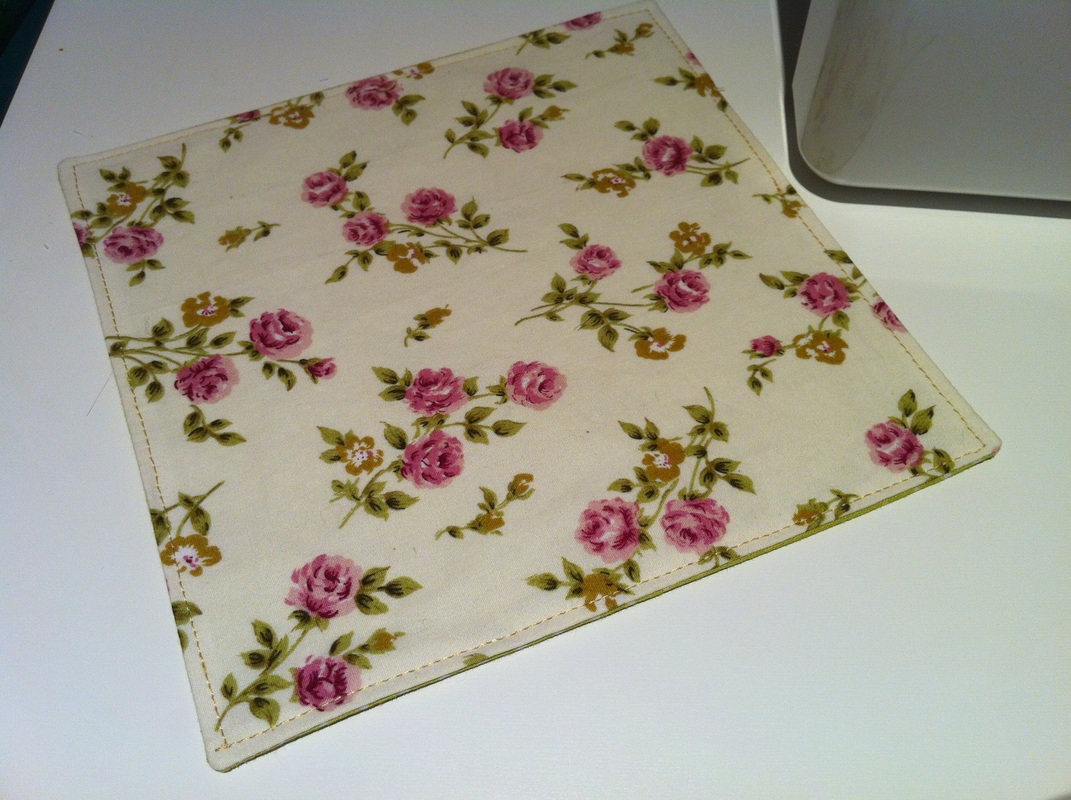
Once turned right side out, press and don't forget to turn in and press the seam allowance in the gap you left. Then top stitch 1/8" from the edge all around the piece

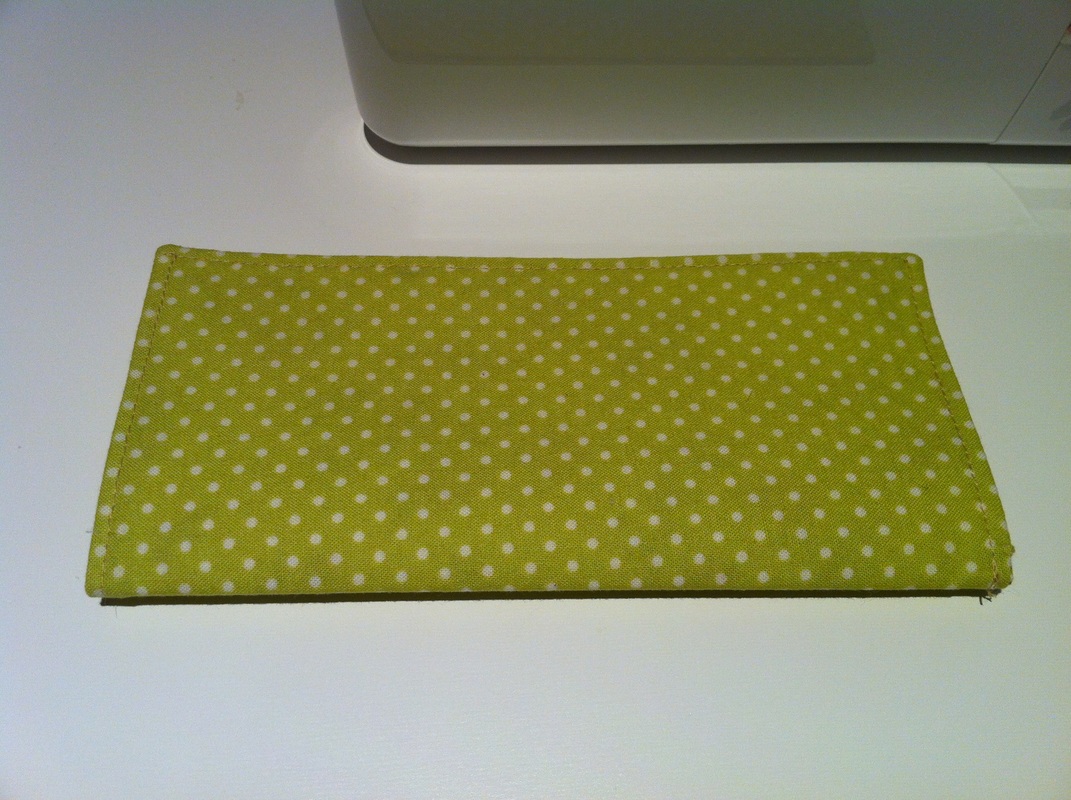
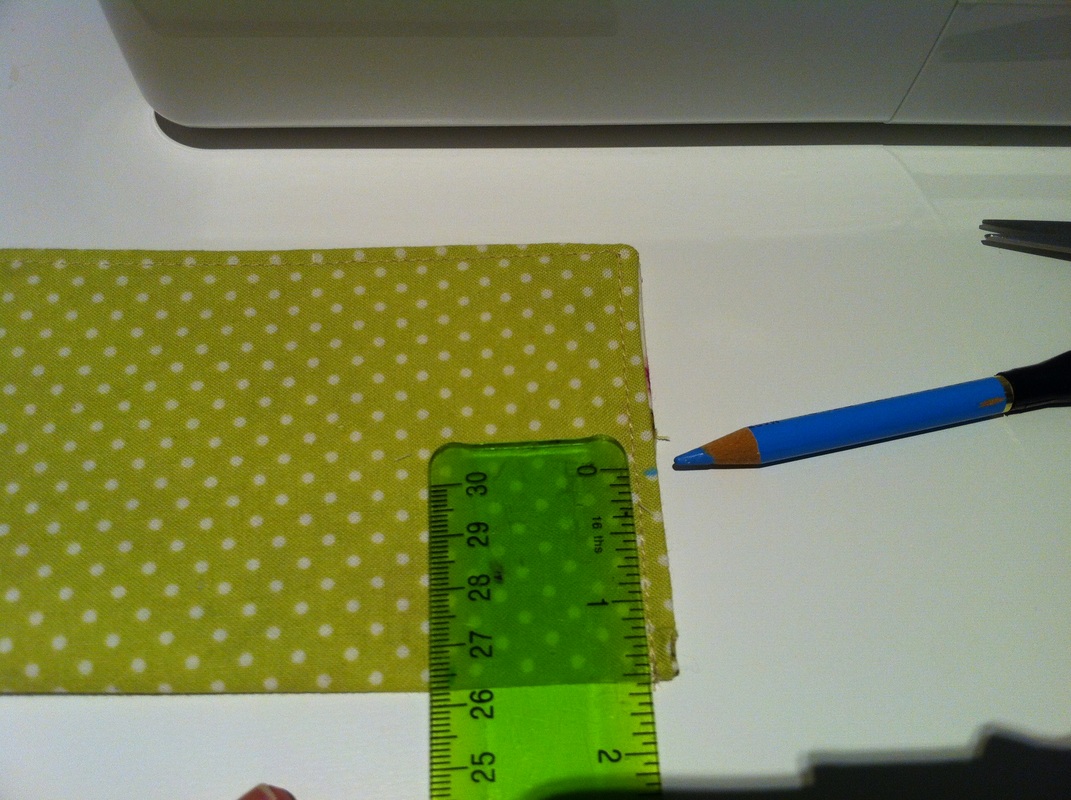
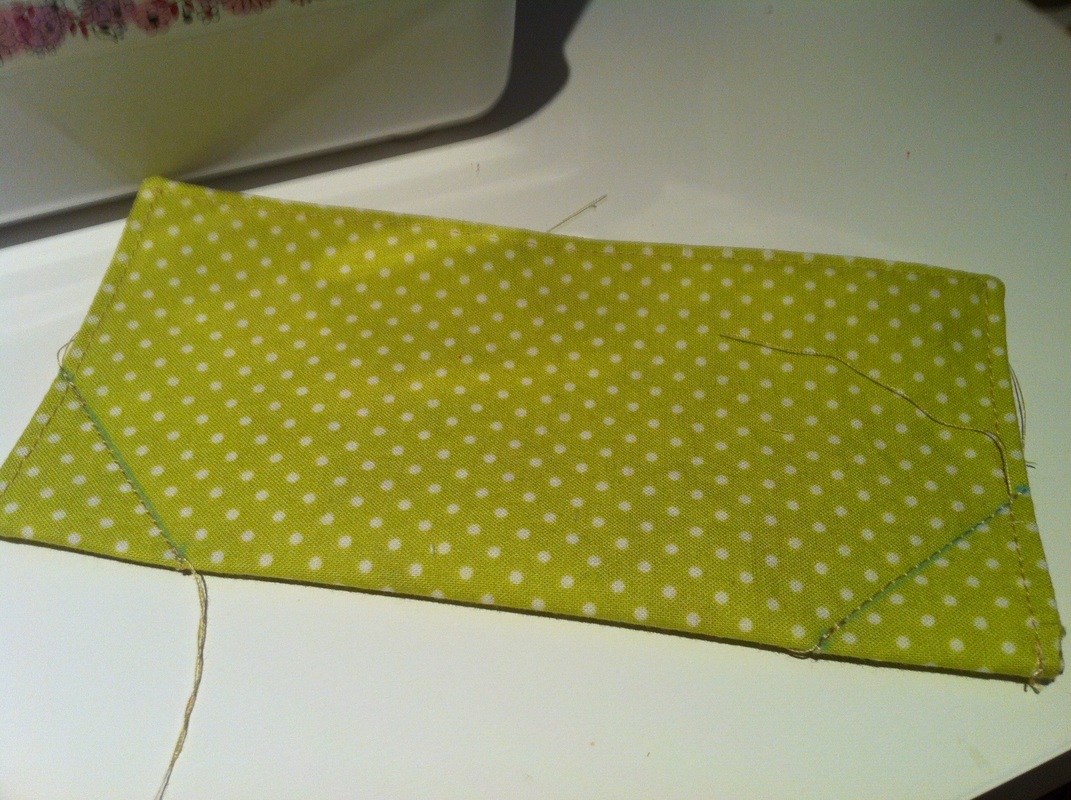
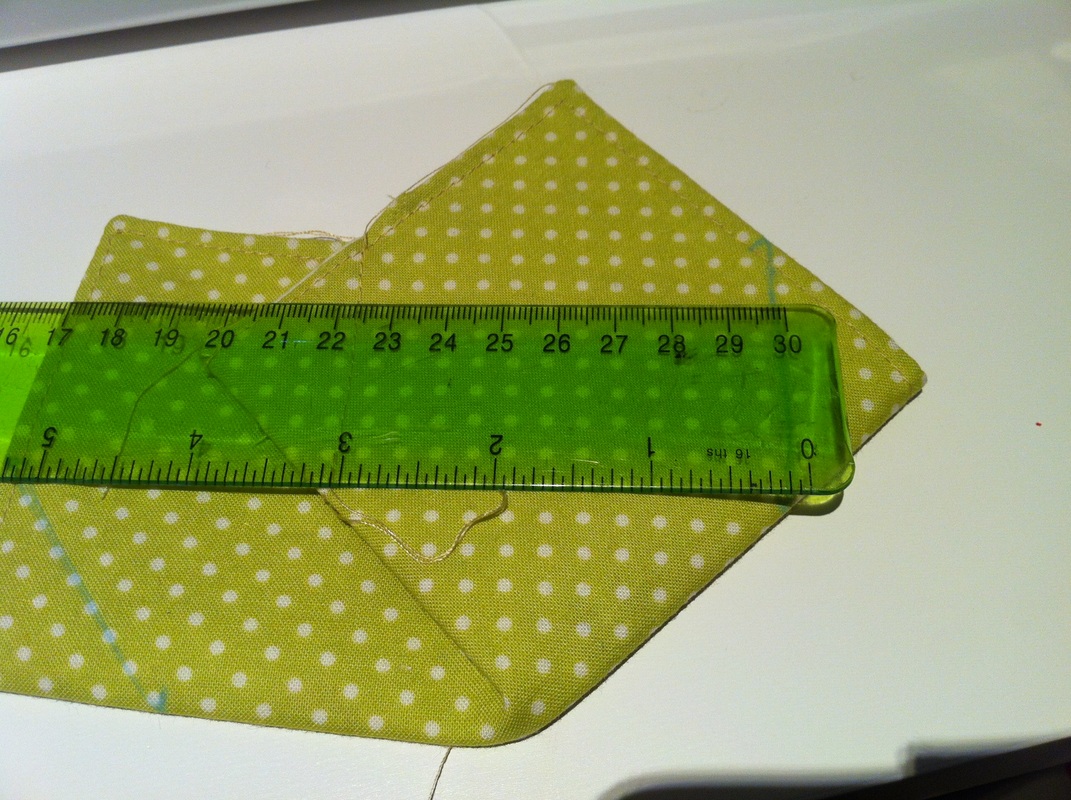
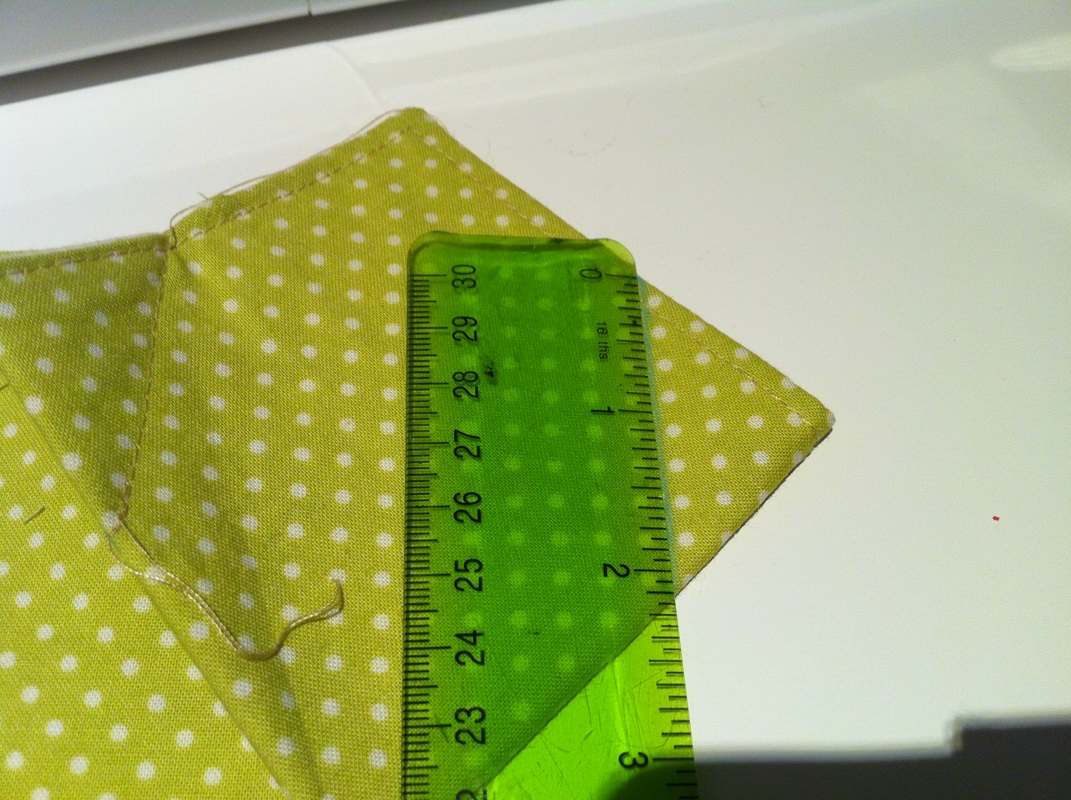
Now line up and fold your piece in half with your chosen outer fabric together so that the lining is showing uppermost. With the fold of the fabric along the bottom (towards you) mark along the left and right edges 1.5" up from the fold line and also along bottom folded edge. Join up your marks to make a diagonal line across the corners
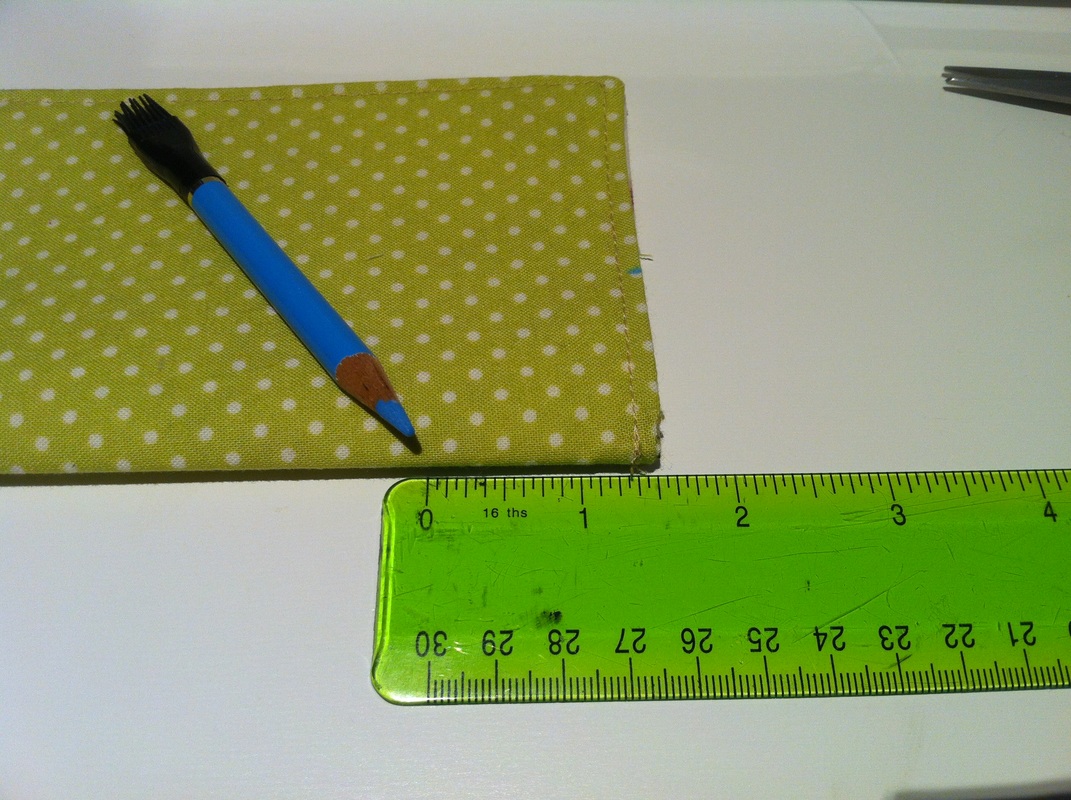
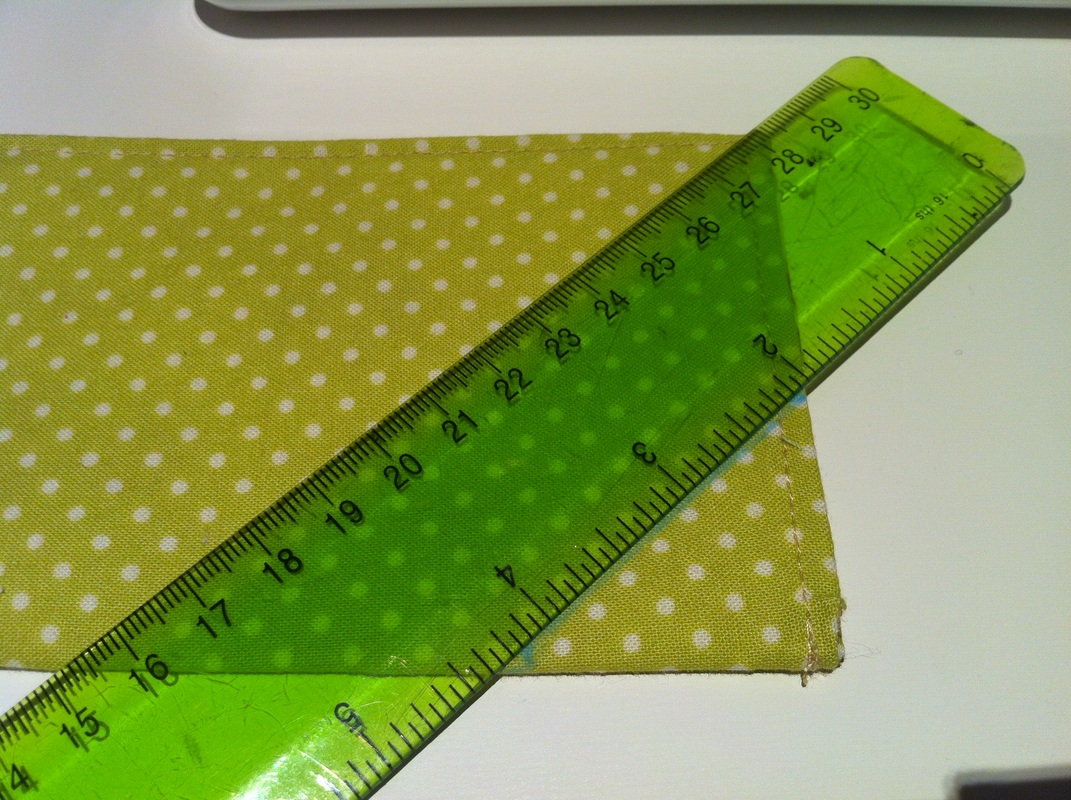
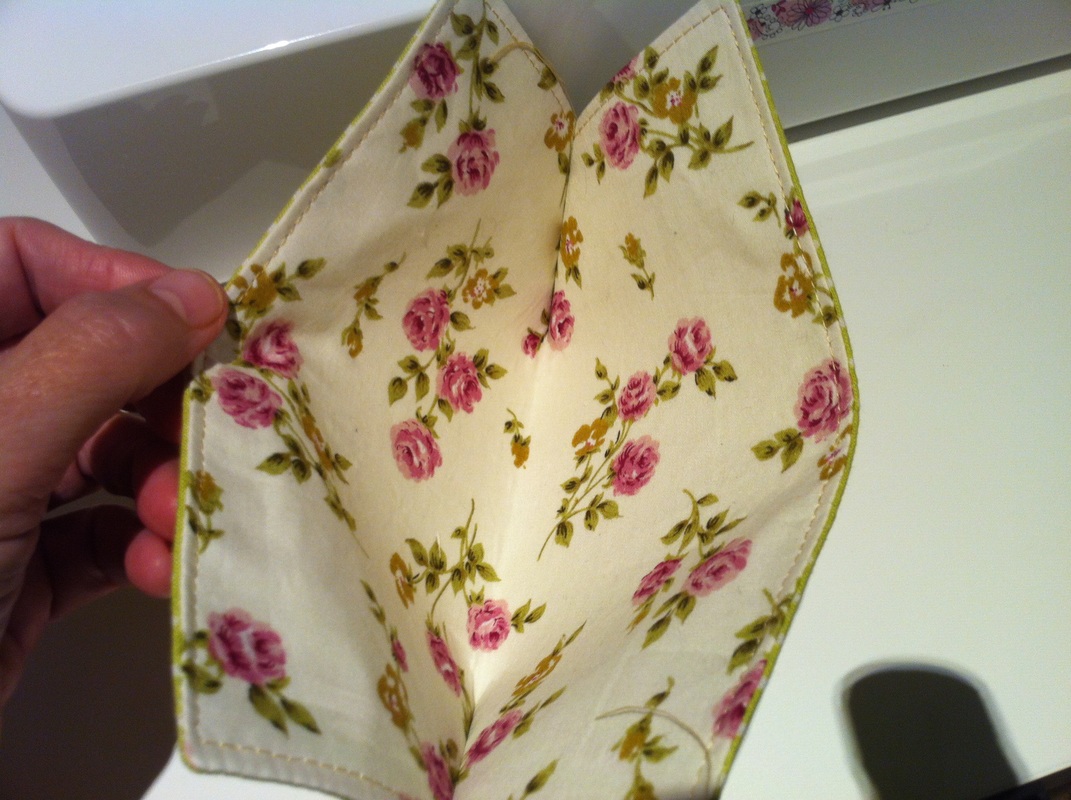
Sew across these diagonal lines then take the centre of the top edge of the fabric and fold your fabric in the opposite direction, lining up the top edges and keeping the fold line towards you. Again, mark 1.5" from the fold line along both edges and along the bottom fold line, then sew along these diagonal lines too. The measurement along the edges is critical in creating your finished box size. The length of the diagonal line is the finished height of your box and the width between the ends of the line along the folded edge is your final box width. So for a smaller deep box increase the distance that you mark along the edges or for a larger shallow box, decrease that measurement. For this box the finished size will be 3" square and 2" high as seen in the images below.
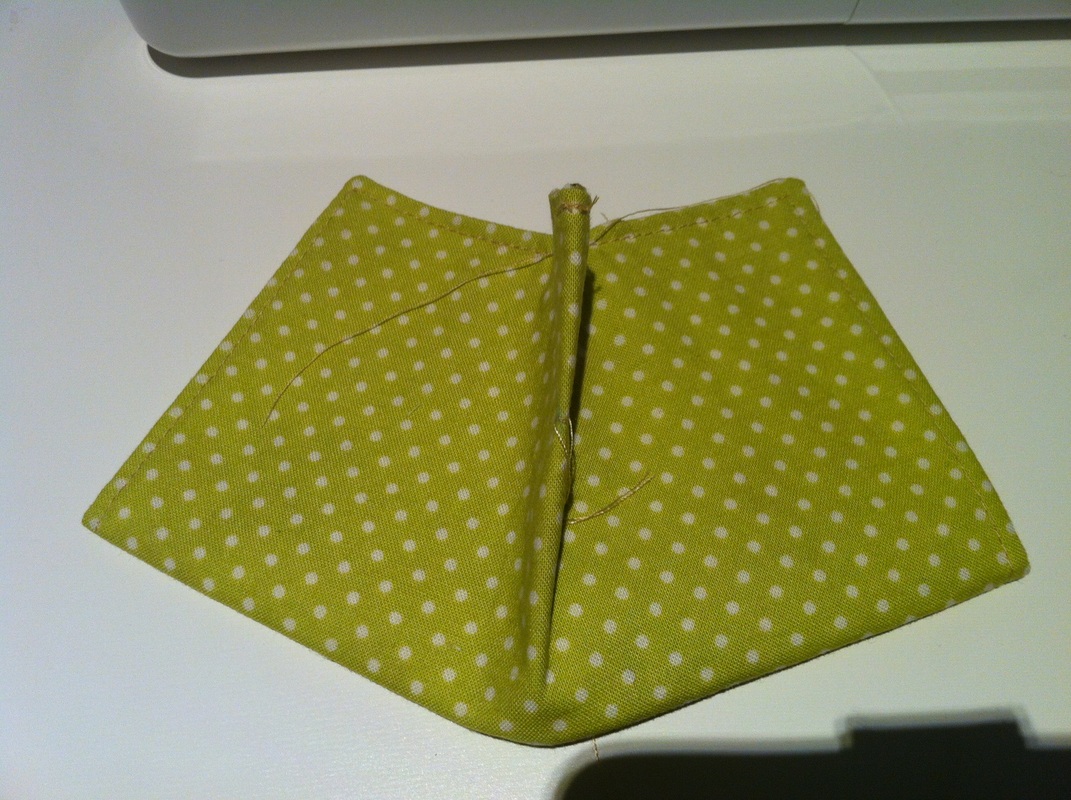
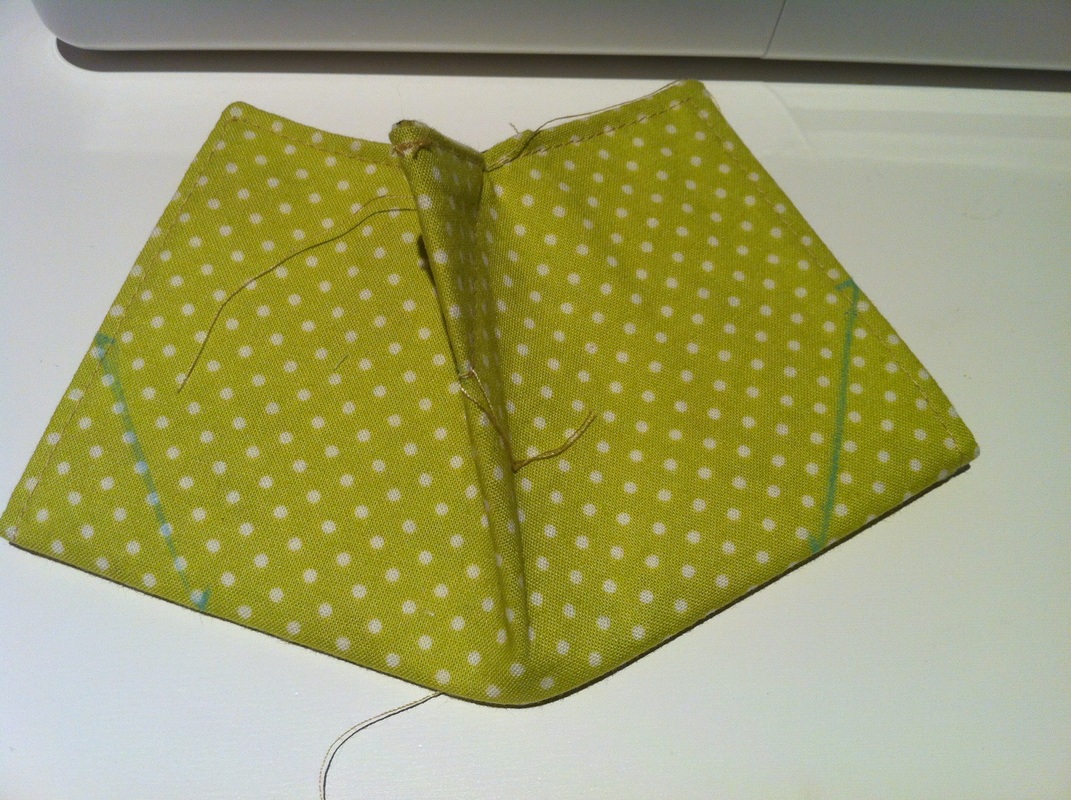
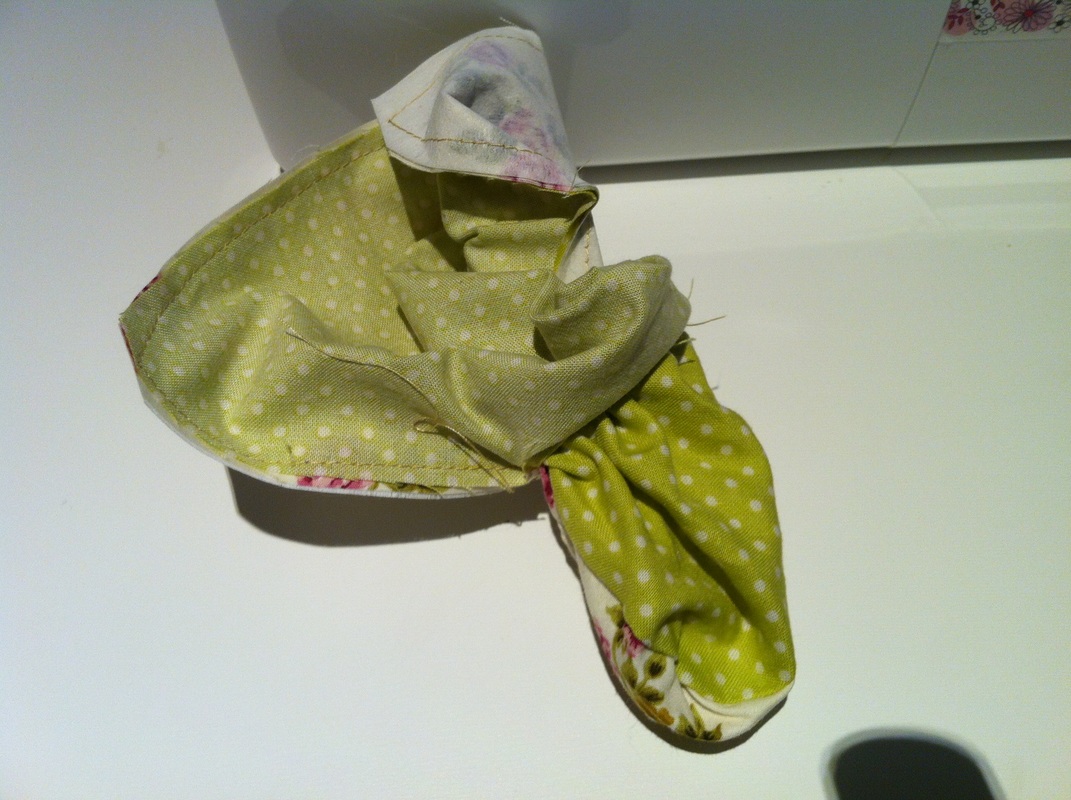
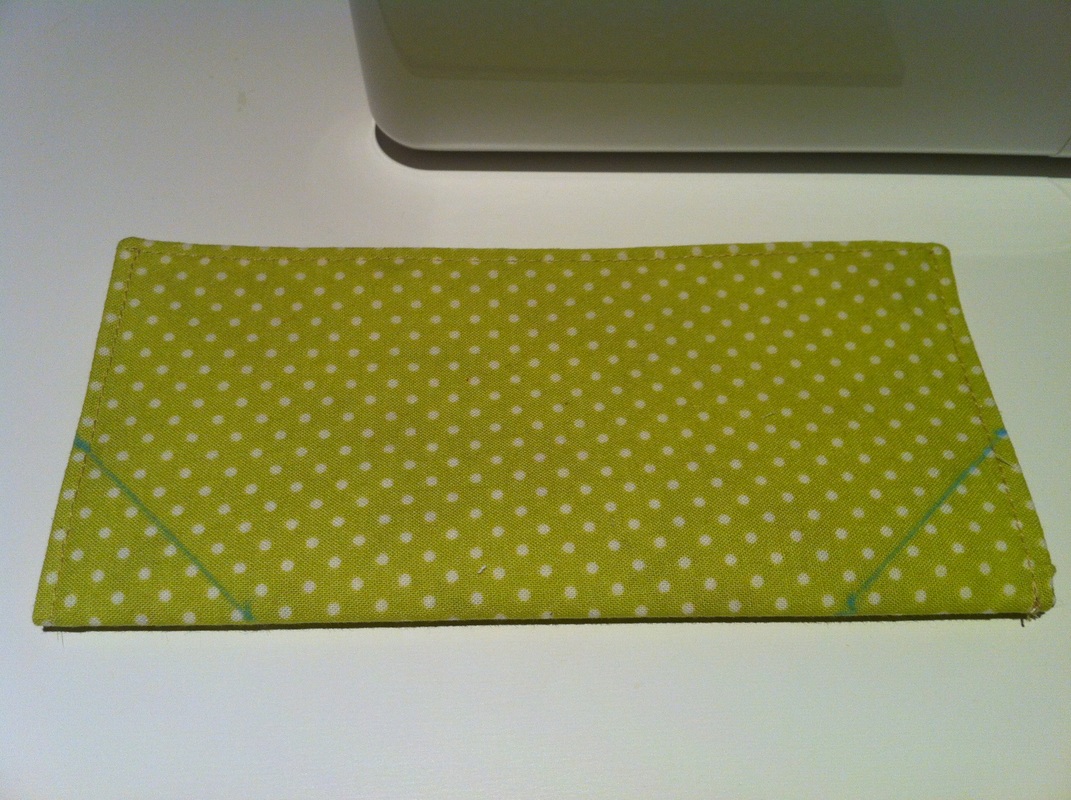
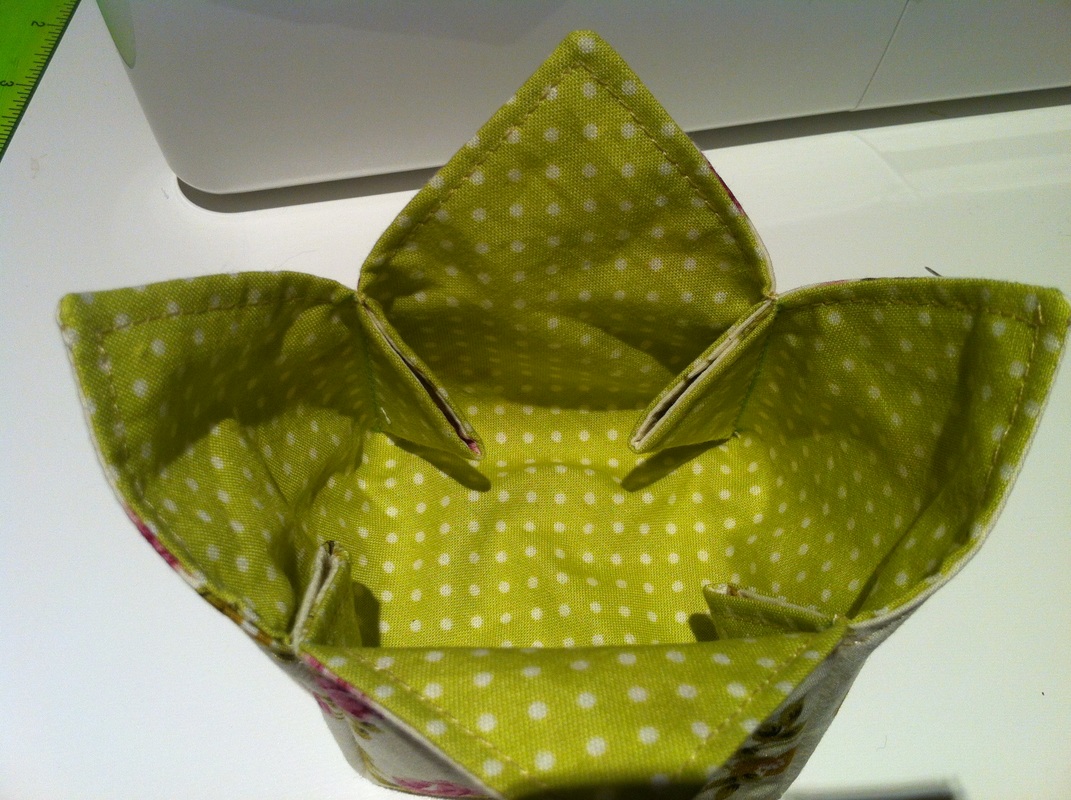
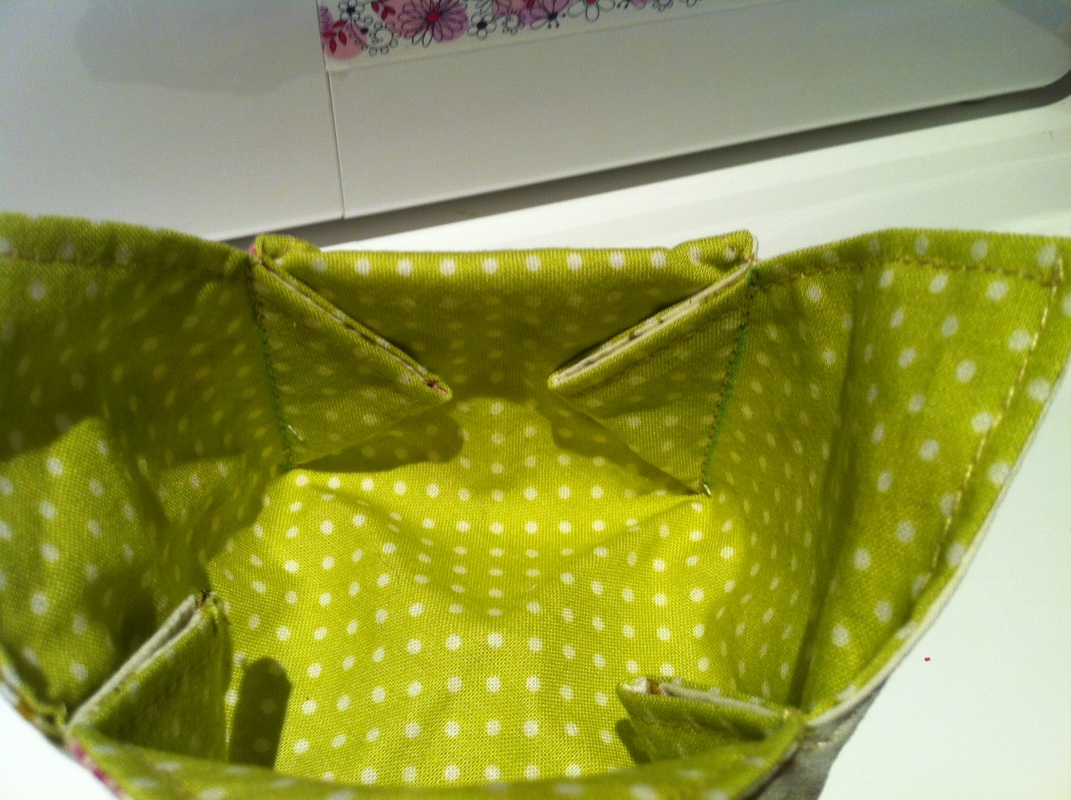
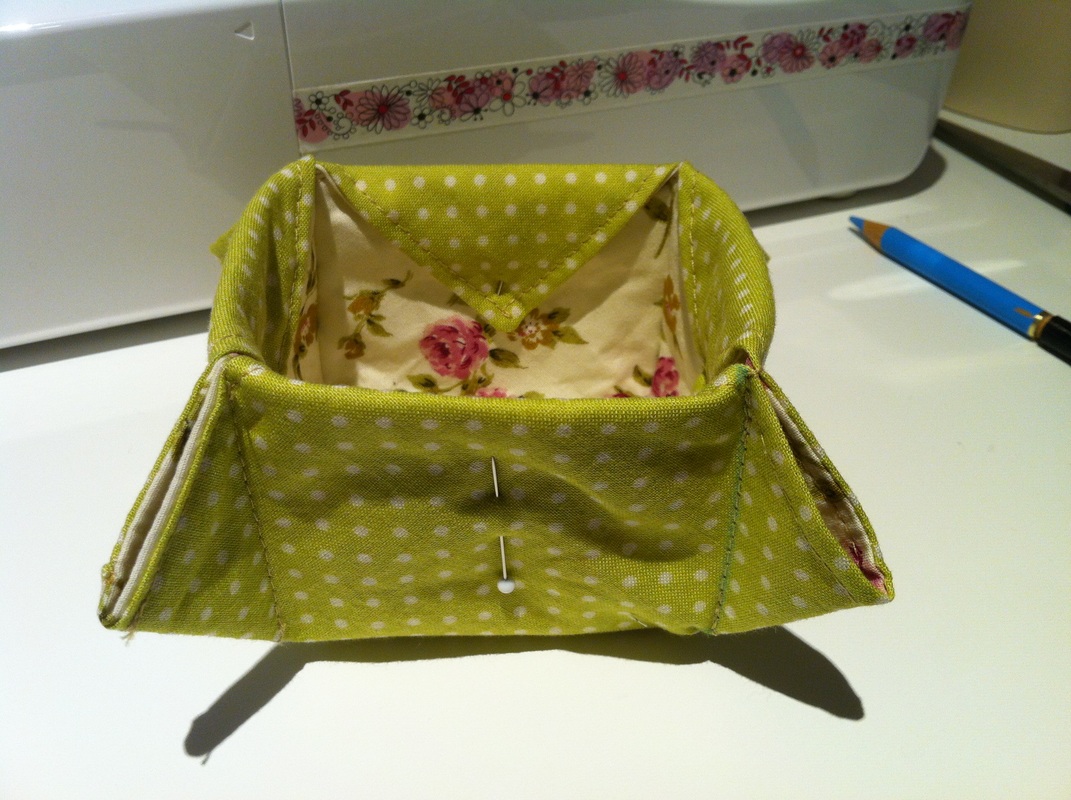
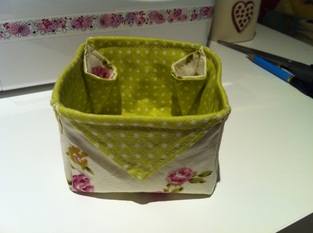
Once you've sewed all your corners you should have something looking like the first image below. ;o)
Now you have some options though. What to do with those little corner tabs! You can either use your lining as your outer fabric and tuck the corners in under the flaps, or turn the whole thing right side out and tuck the corners in there instead. Or cut the corners off and encase them in a side seam by top stitching along the upright edges of the box. Or... you can do as I have done and make the corners into little pouches that add to the storage space inside the box itself!
Now you have some options though. What to do with those little corner tabs! You can either use your lining as your outer fabric and tuck the corners in under the flaps, or turn the whole thing right side out and tuck the corners in there instead. Or cut the corners off and encase them in a side seam by top stitching along the upright edges of the box. Or... you can do as I have done and make the corners into little pouches that add to the storage space inside the box itself!
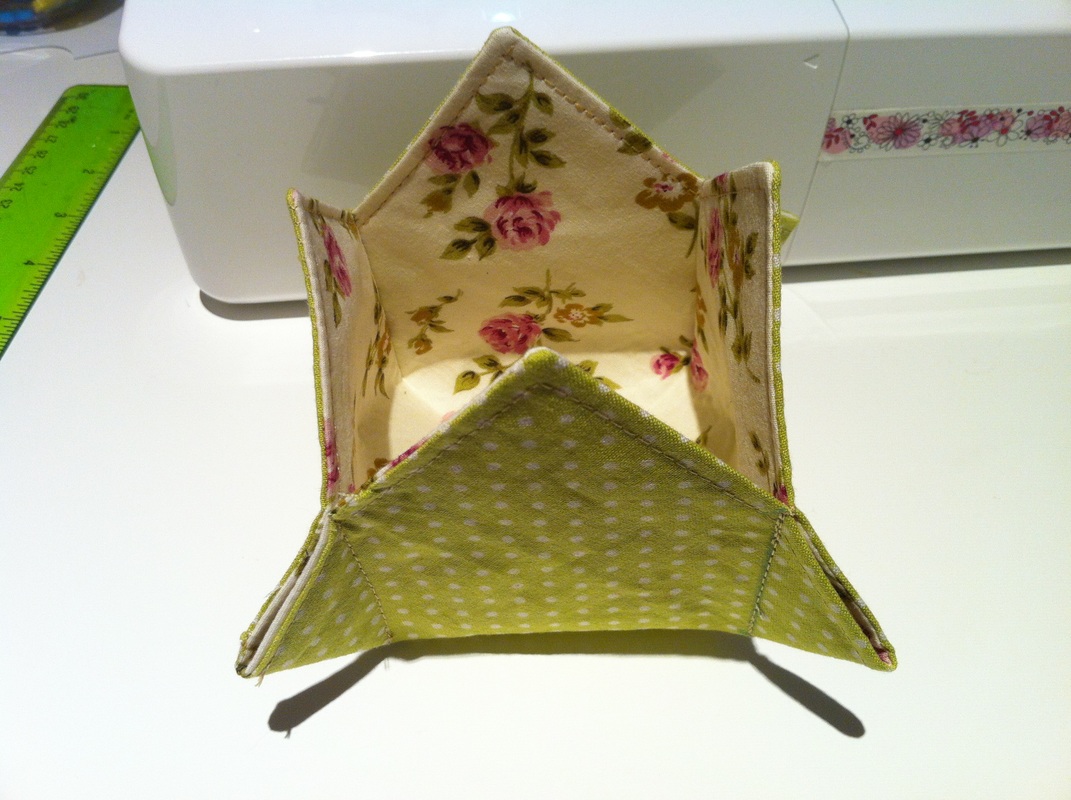

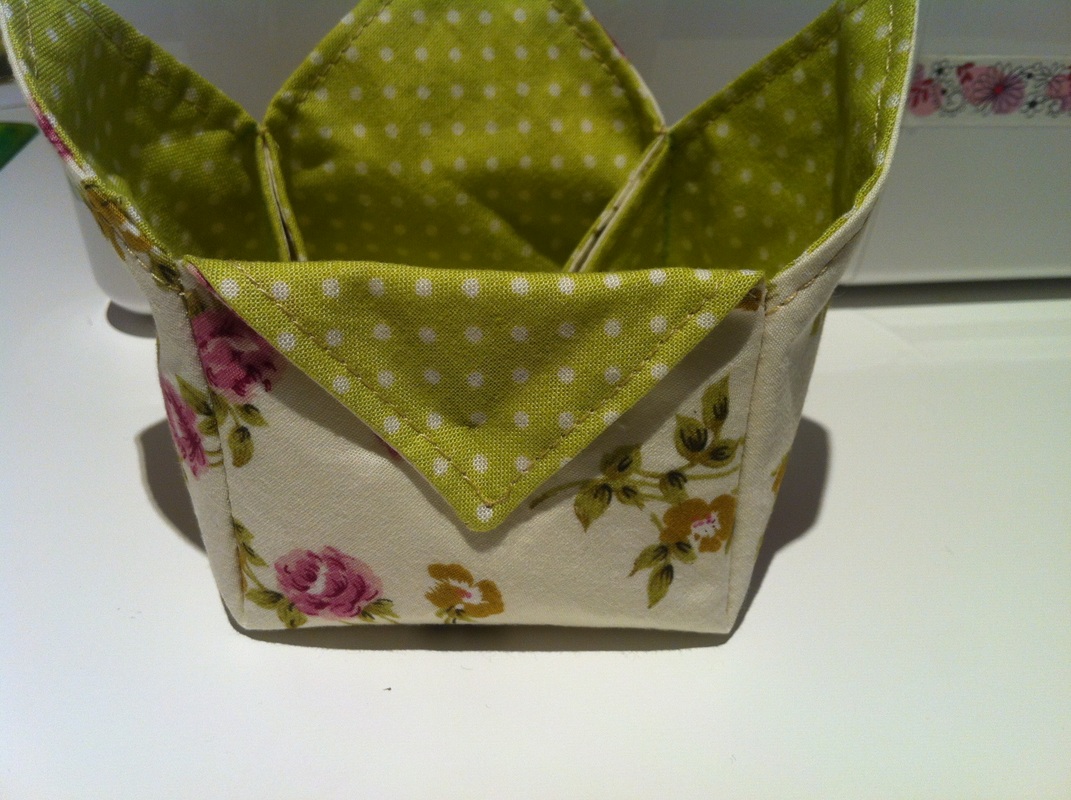
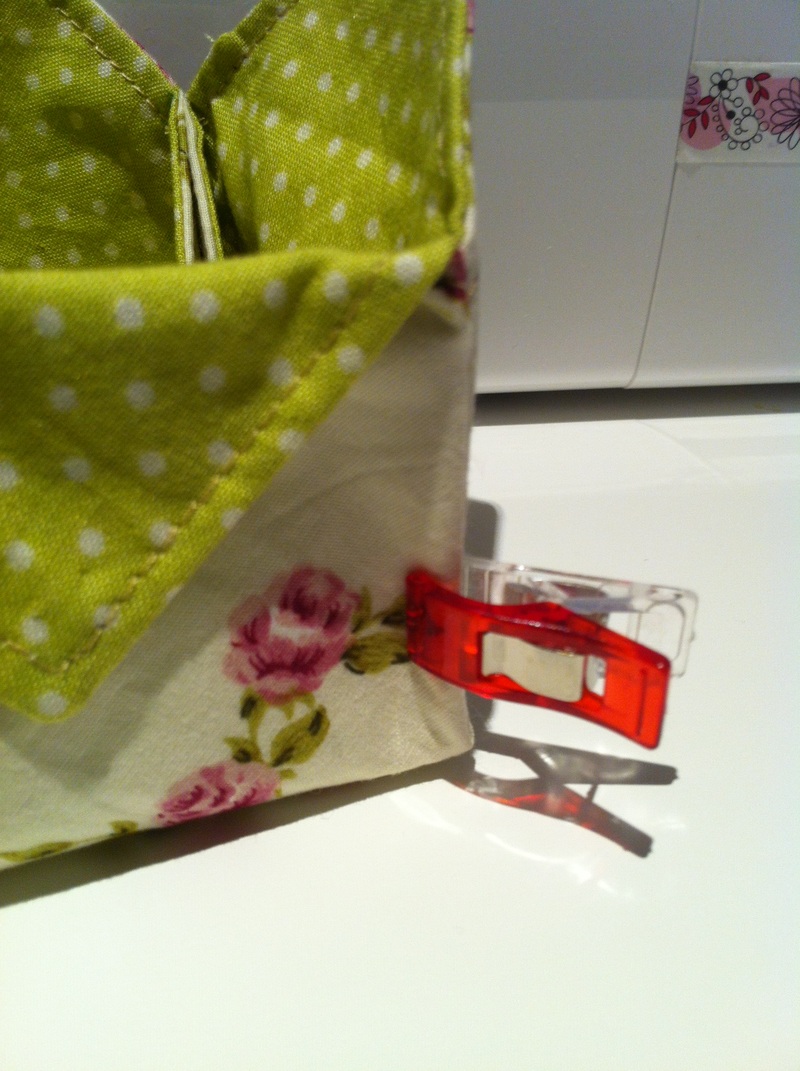
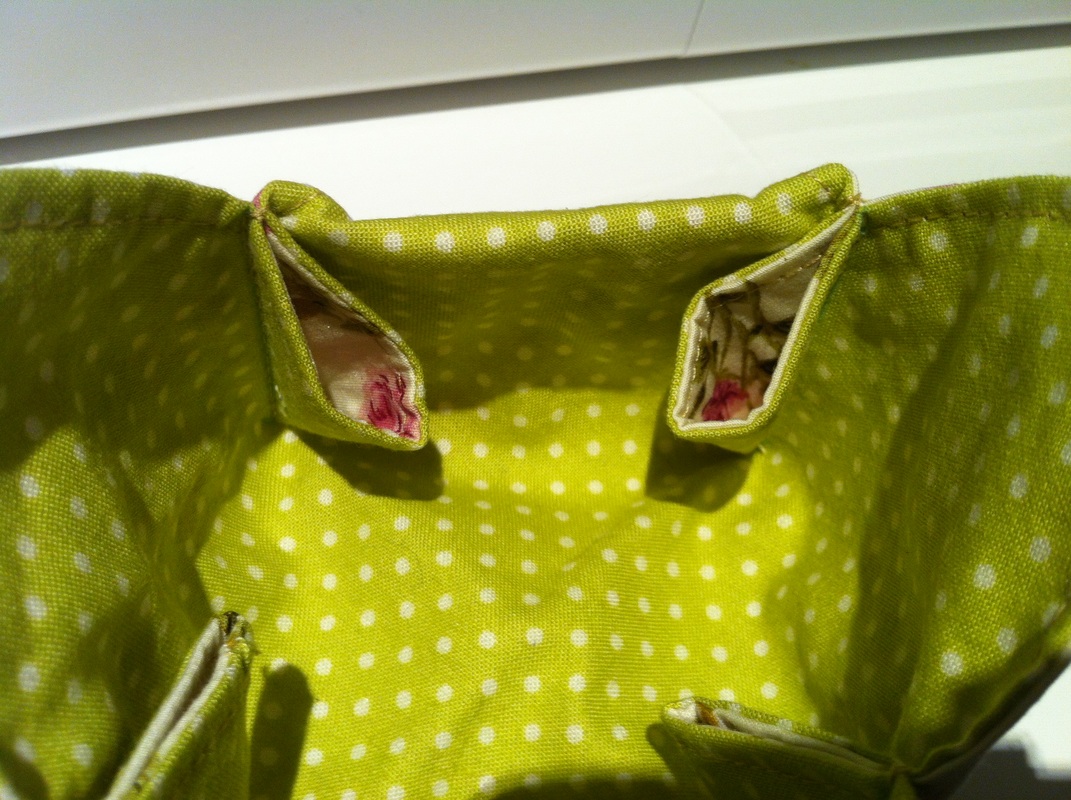
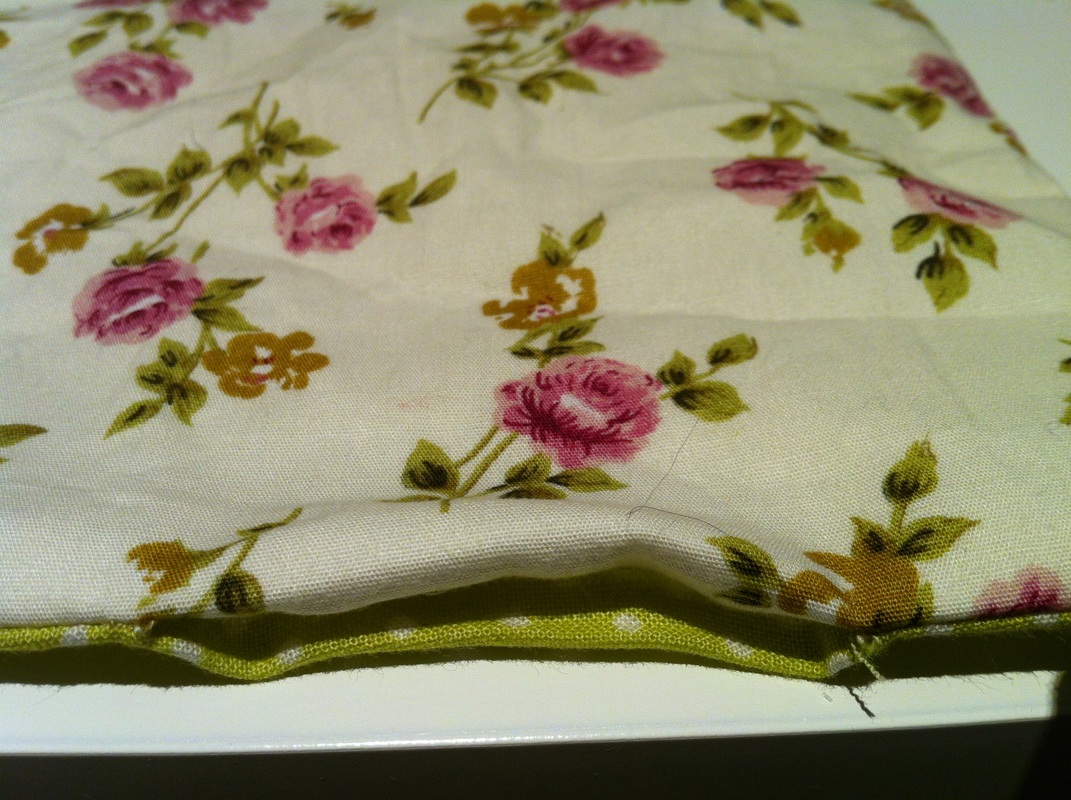
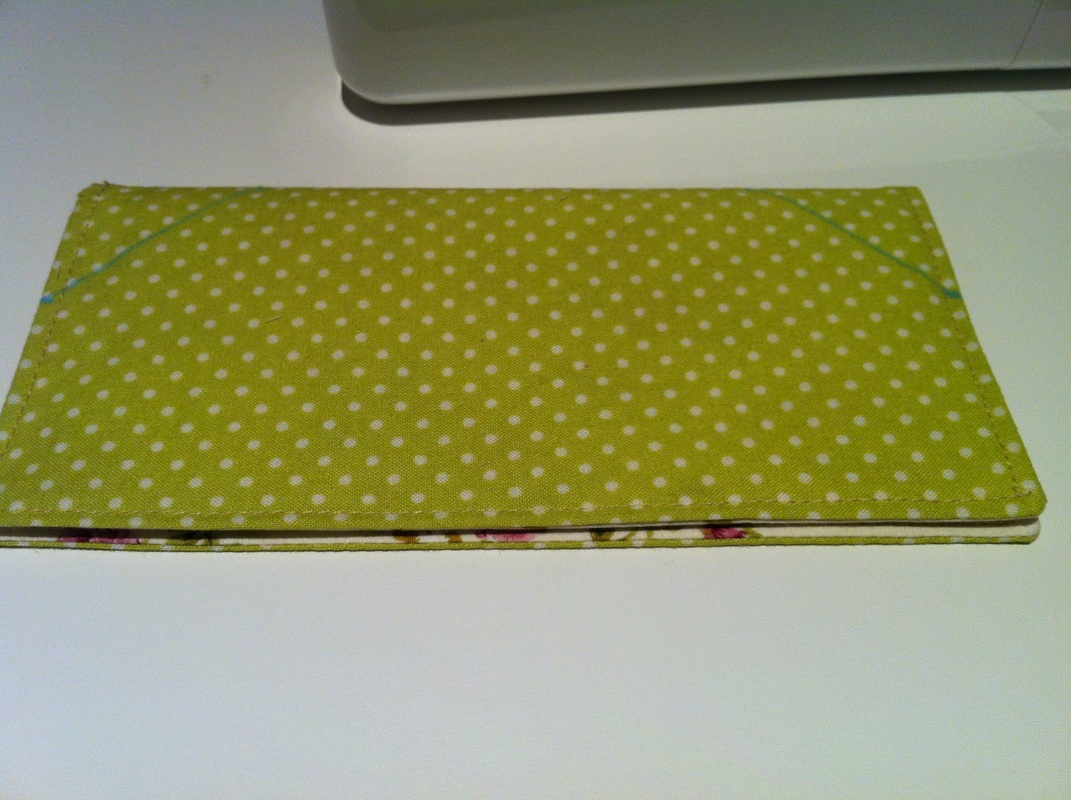
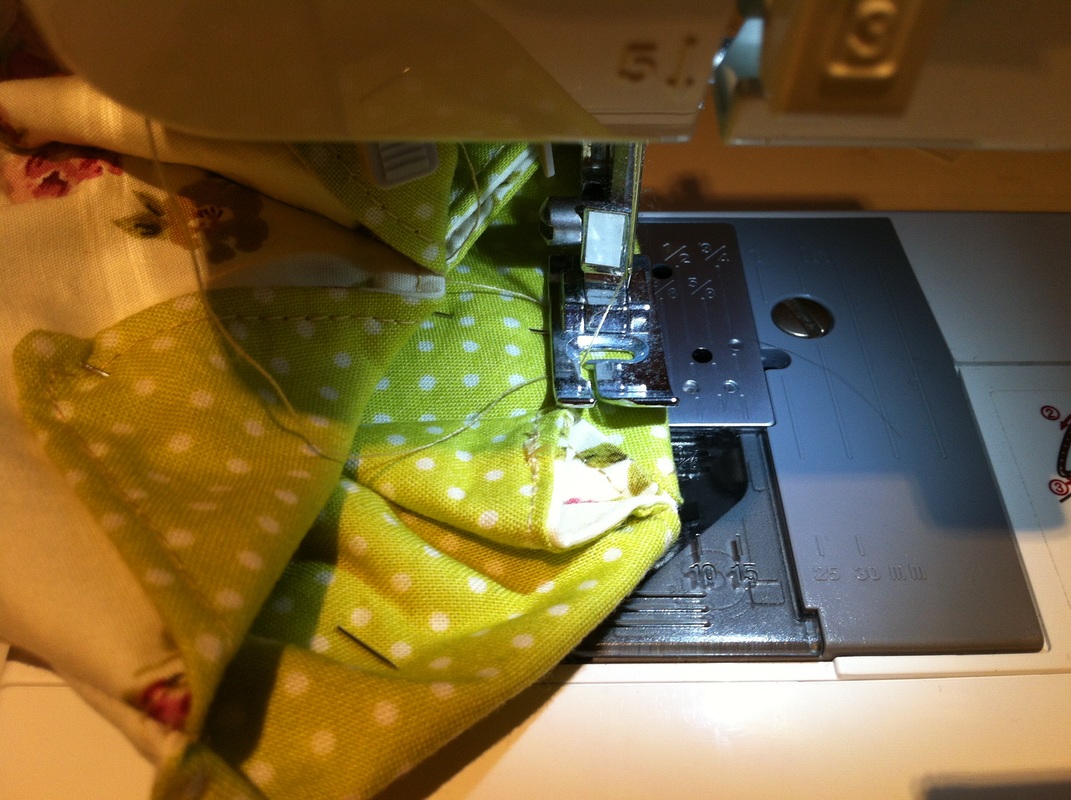
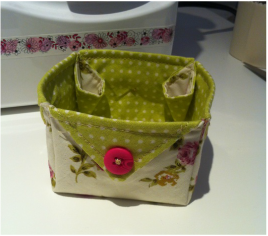
With your chosen lining on the outside pin the corners down to create the triangle flaps on the outside of the box then turn right side out and top stitch 1/8" from the edge making sure you flatten out the corner pouches to make them stand out (or lie flat depending on your preference). I'm making these ones stand out.
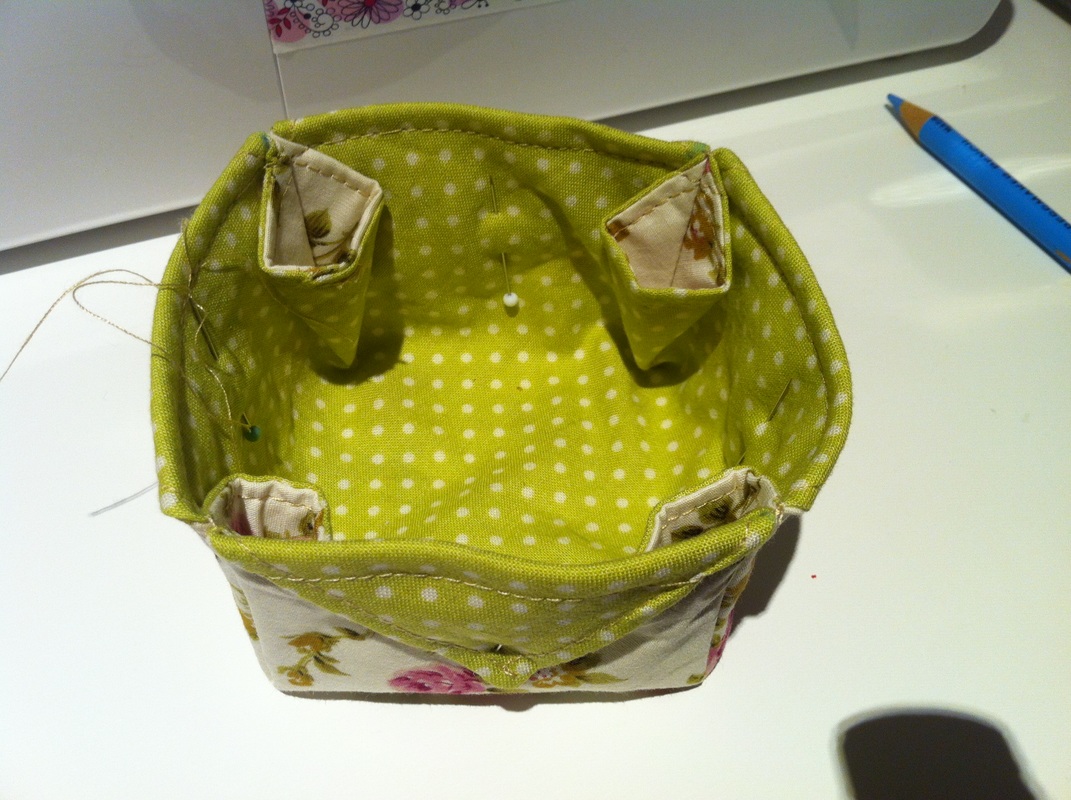
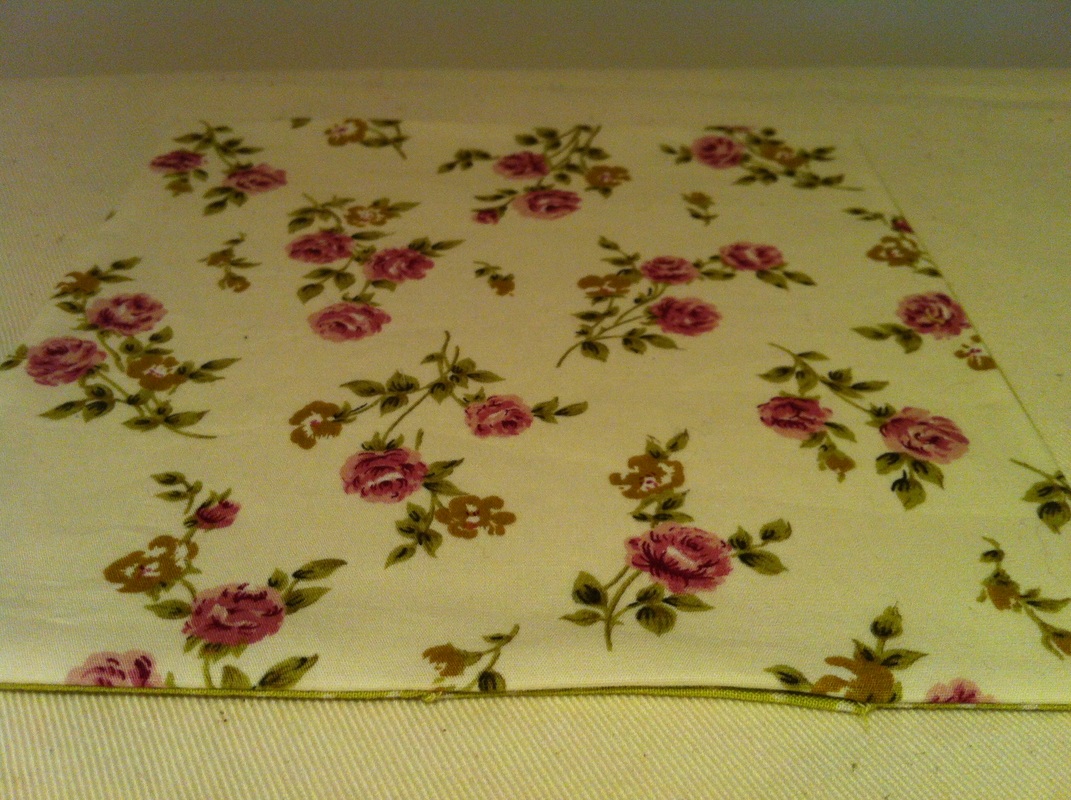
Then ta da! You're done! :o) All there is to do is add a suitable button as decoration
 |  |

 RSS Feed
