I've always been a fan of black and red together (which probably explains my obsession with Ladybirds!)
I have a HUGE amount of black and red beads for jewellery making as I always seem to gravitate towards them. On one trip to a bead fayre... I didn't mean to... but I came home with nothing but red beads!
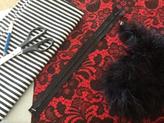
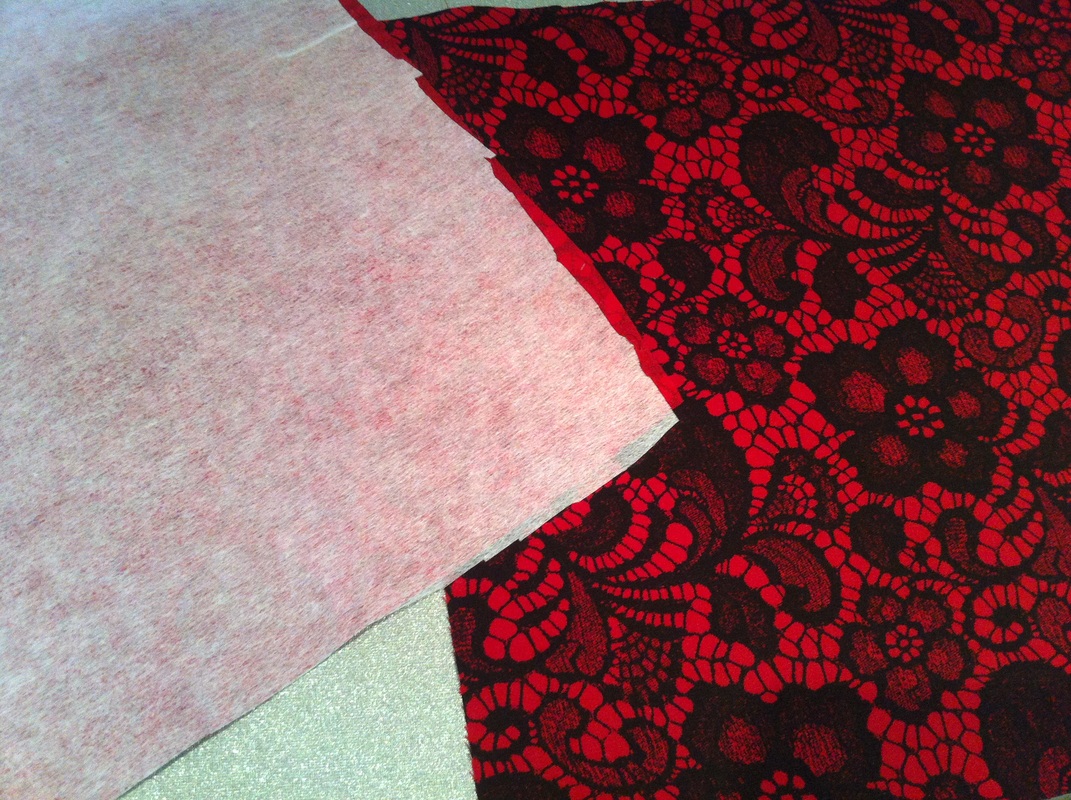
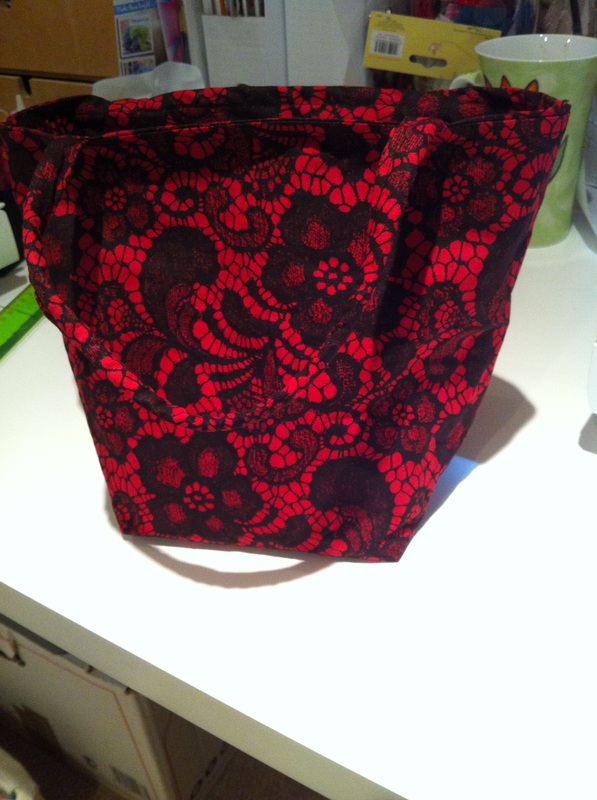
So when I saw some red cotton fabric with a printed black lace pattern on it I just had to have it, and immediately knew what I wanted to do with it too! A fancy handbag with a fluffy black marabou feather trim! :o)
I have a HUGE amount of black and red beads for jewellery making as I always seem to gravitate towards them. On one trip to a bead fayre... I didn't mean to... but I came home with nothing but red beads!
So when I saw some red cotton fabric with a printed black lace pattern on it I just had to have it, and immediately knew what I wanted to do with it too! A fancy handbag with a fluffy black marabou feather trim! :o)
Have all the components, know how I want the finished article to look, now have to work out how to get there..
I sketched out a rough drawing of how I wanted it to look but had to think about how to construct the bag in order to get to the final product.
So I started off with the following:
x4 pieces 2" x10" for the zip section. (X2 lining and x2 outer fabric)
X2 pieces 13" X 10" of the lining fabric for the main body
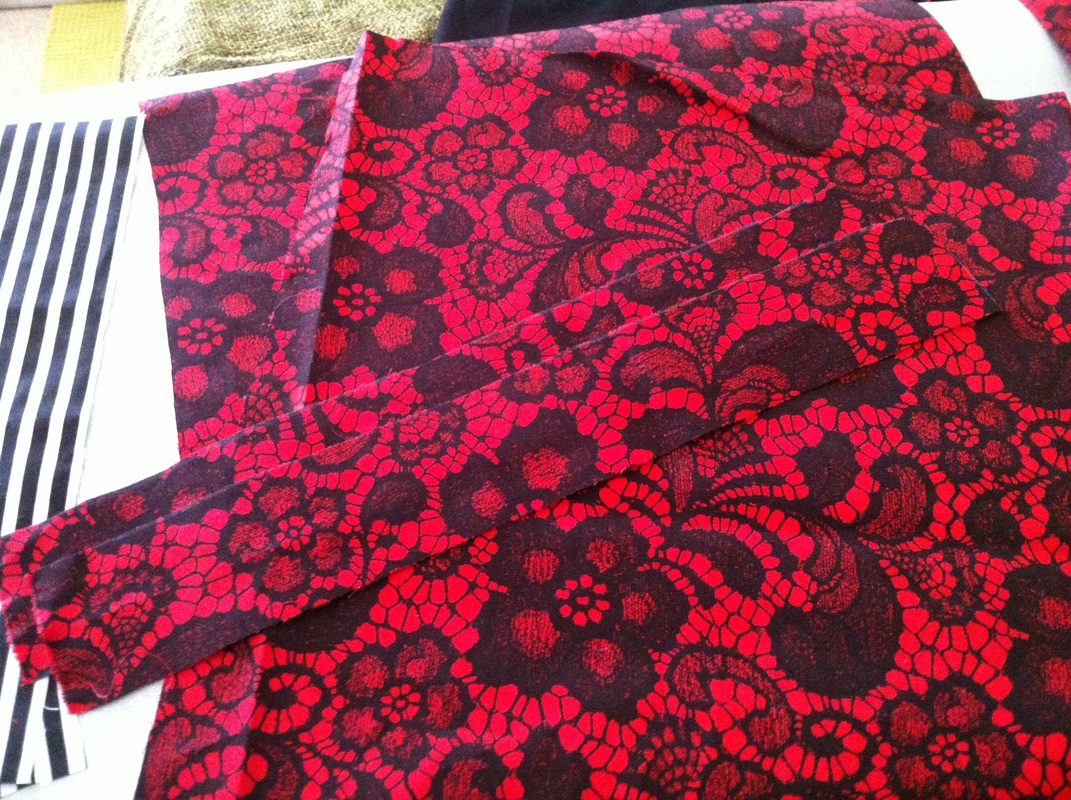
X2 pieces 13" x 12" of the outer fabric for the main body
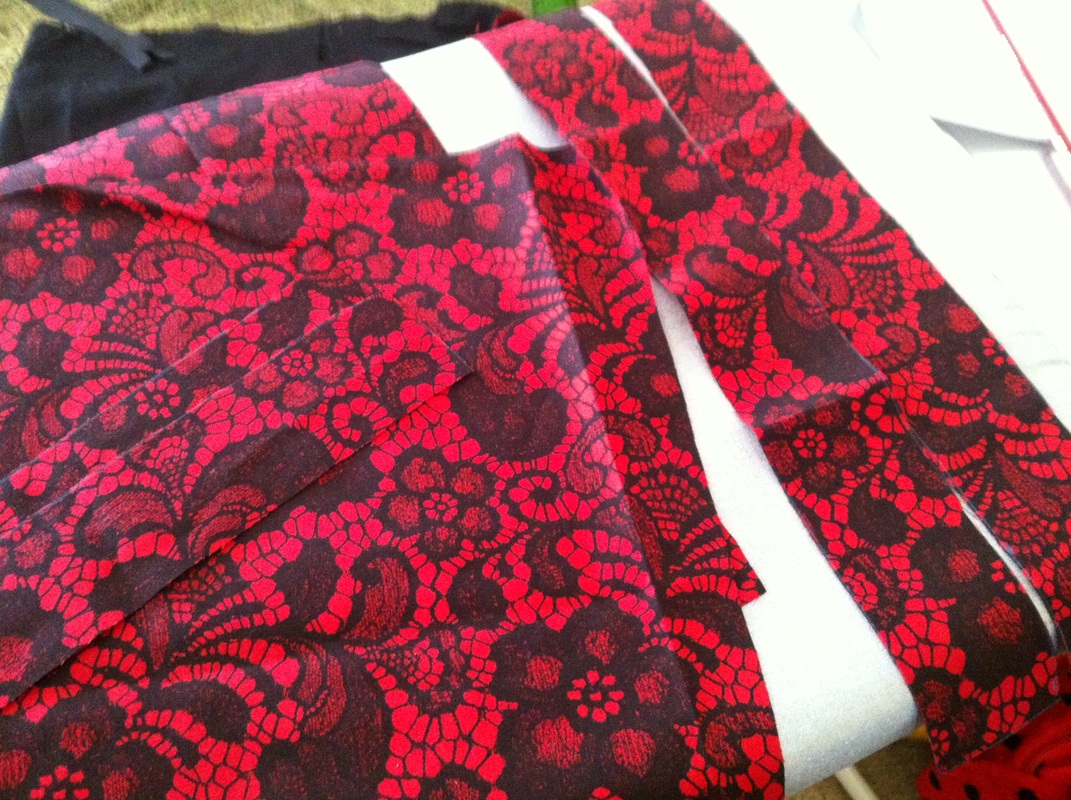
x2 pieces 13" x 12" of iron on fusible lining
X2 pieces 13" x 2" of the outer fabric for the inside of the top of the bag
x2 pieces 15" x 2" of outer fabric for handles
x2 pieces 2" x 2" of outer fabric for the zip tabs
2" x 8" scrap of fabric for the internal pocket zip (any colour it doesn't matter as you won't really see it!)
8" x 6" piece of fabric for the inside of the internal pocket. In this instance I chose a plain black to go with the black stripe lining.
One 12" zipper, one 6" zipper, a metre of marabou feather trim, a metre of black lace trim and some cord for the handles.
I sketched out a rough drawing of how I wanted it to look but had to think about how to construct the bag in order to get to the final product.
So I started off with the following:
x4 pieces 2" x10" for the zip section. (X2 lining and x2 outer fabric)
X2 pieces 13" X 10" of the lining fabric for the main body
X2 pieces 13" x 12" of the outer fabric for the main body
x2 pieces 13" x 12" of iron on fusible lining
X2 pieces 13" x 2" of the outer fabric for the inside of the top of the bag
x2 pieces 15" x 2" of outer fabric for handles
x2 pieces 2" x 2" of outer fabric for the zip tabs
2" x 8" scrap of fabric for the internal pocket zip (any colour it doesn't matter as you won't really see it!)
8" x 6" piece of fabric for the inside of the internal pocket. In this instance I chose a plain black to go with the black stripe lining.
One 12" zipper, one 6" zipper, a metre of marabou feather trim, a metre of black lace trim and some cord for the handles.
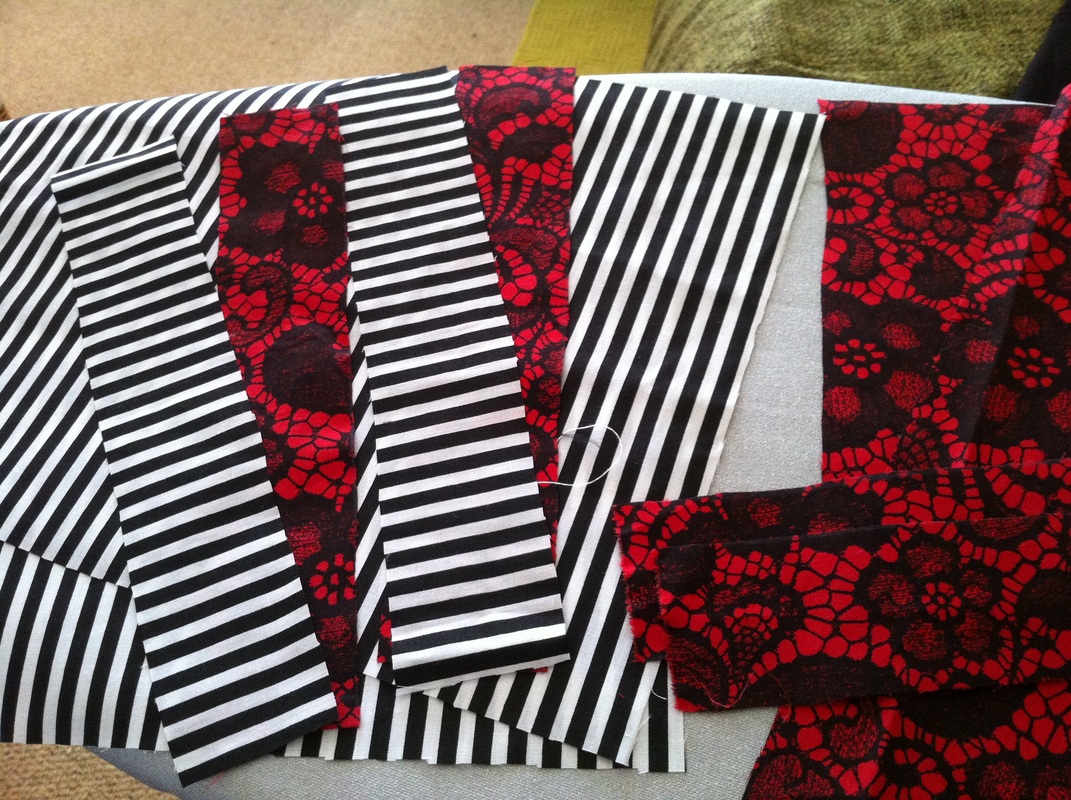
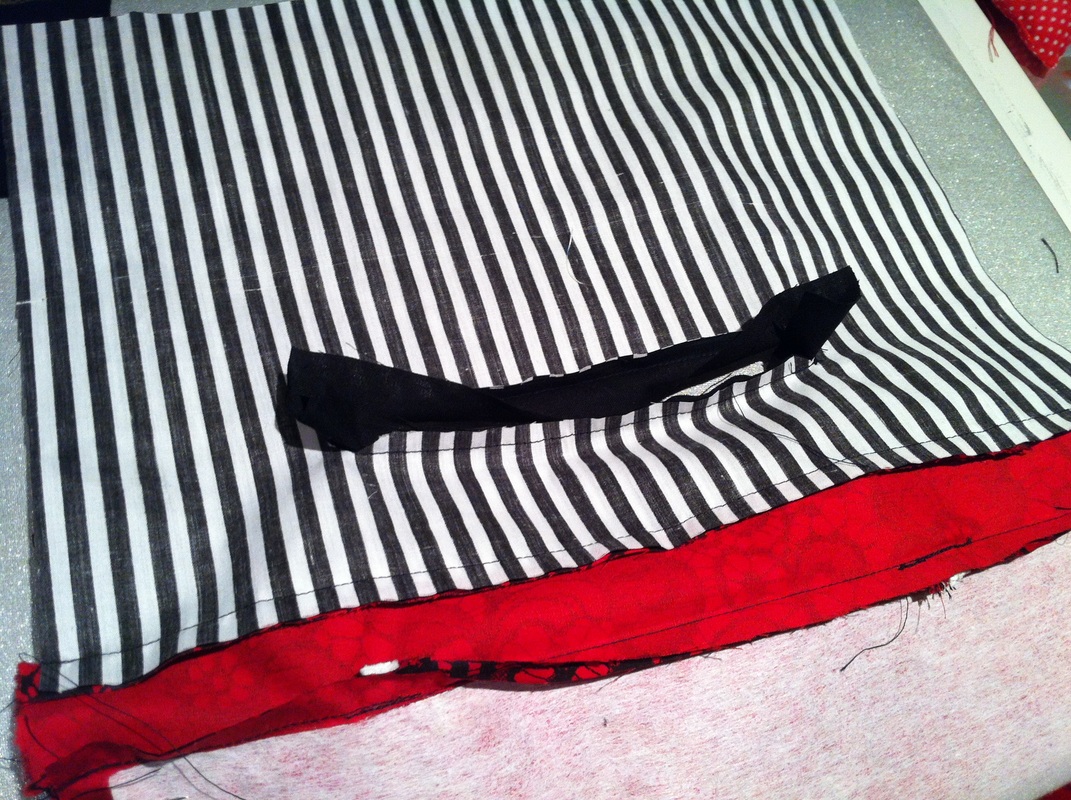
All cut out and ready to go...
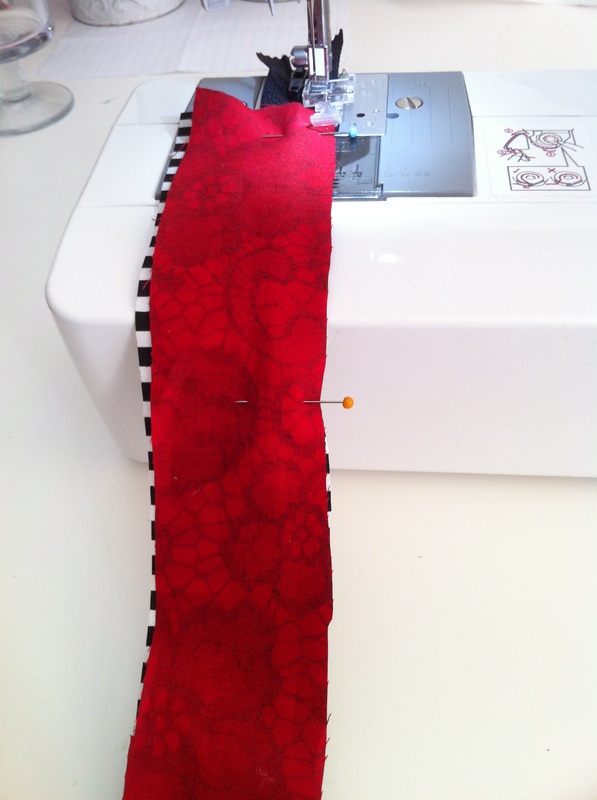
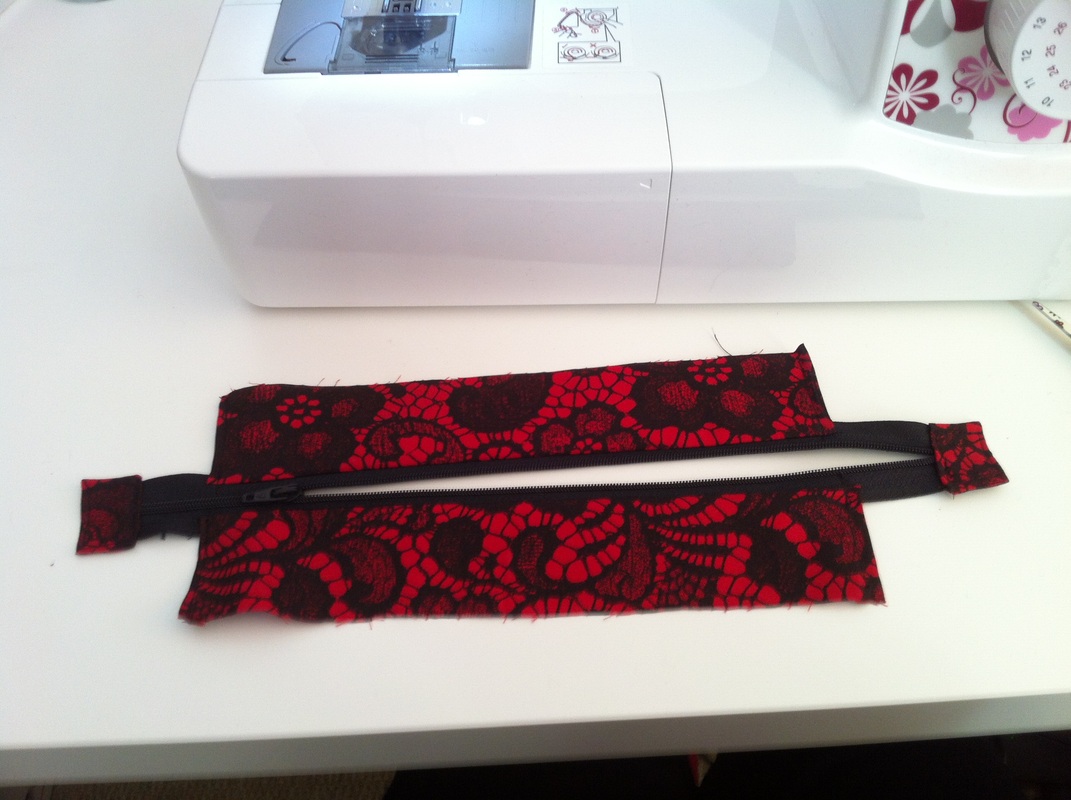
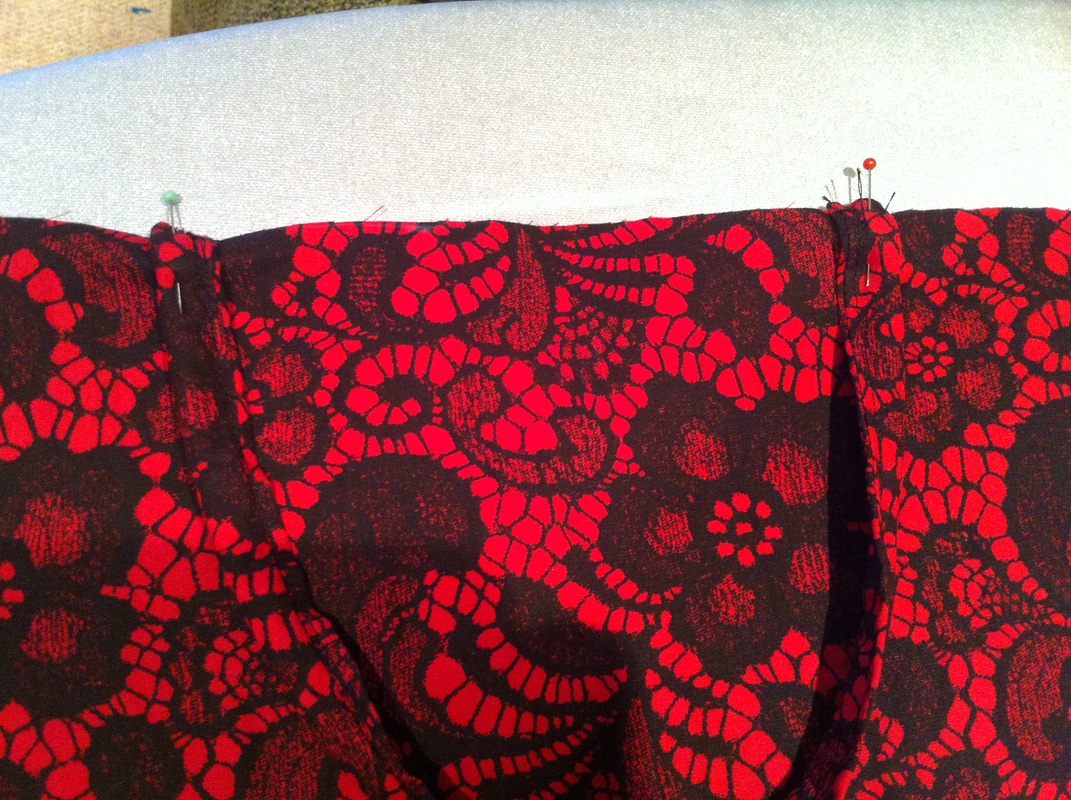
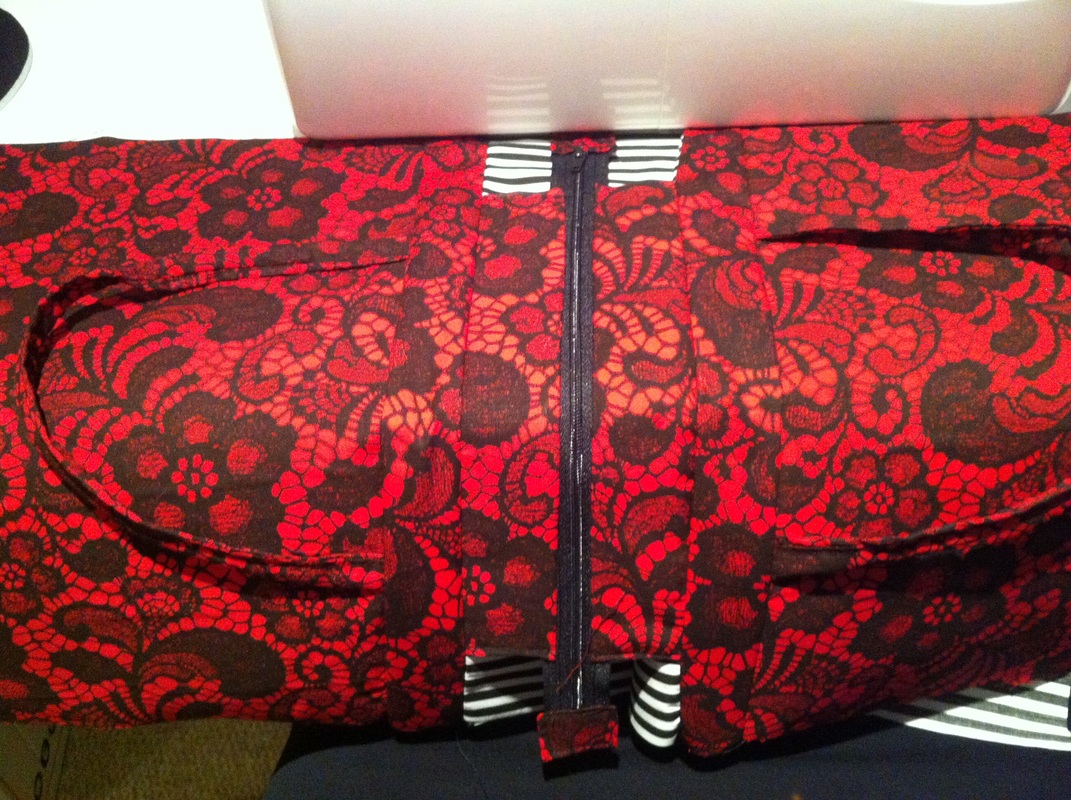
Firstly to construct the zipper section and sew on some tabs to the ends of the zips as they will be on show at the top of the bag...
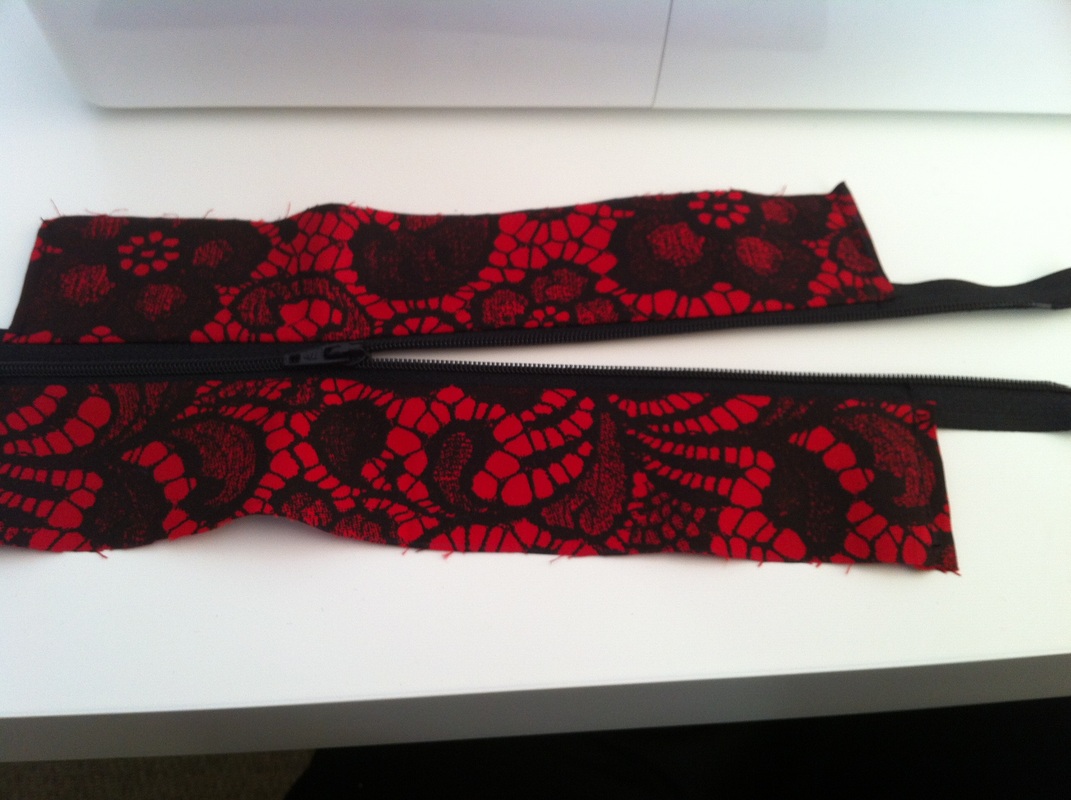
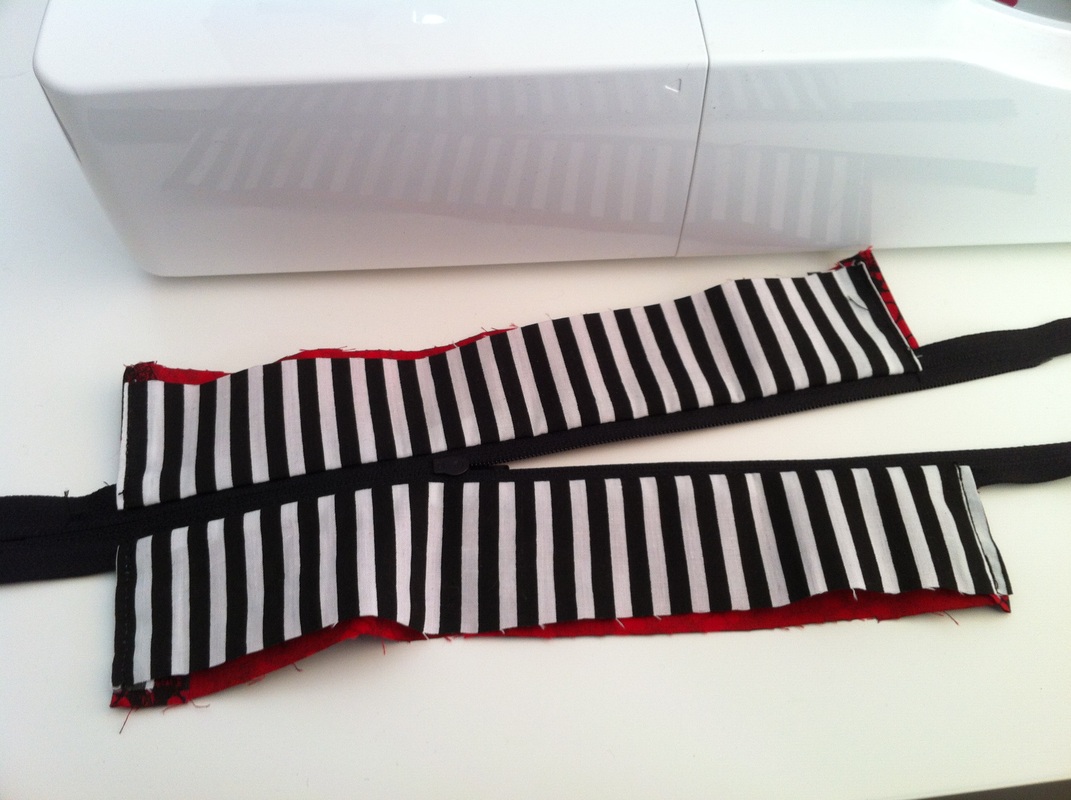

Stitching in the lining in along the edge of the lining of the zipper section and the inner portion of the top of the bag.
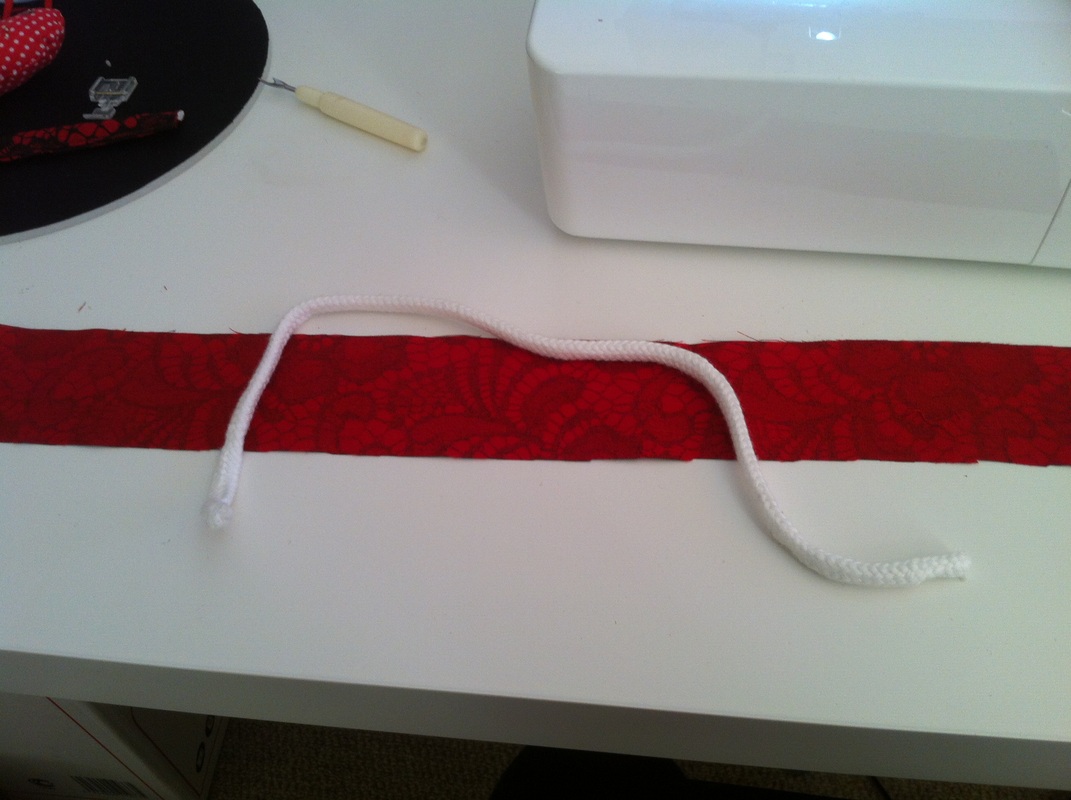
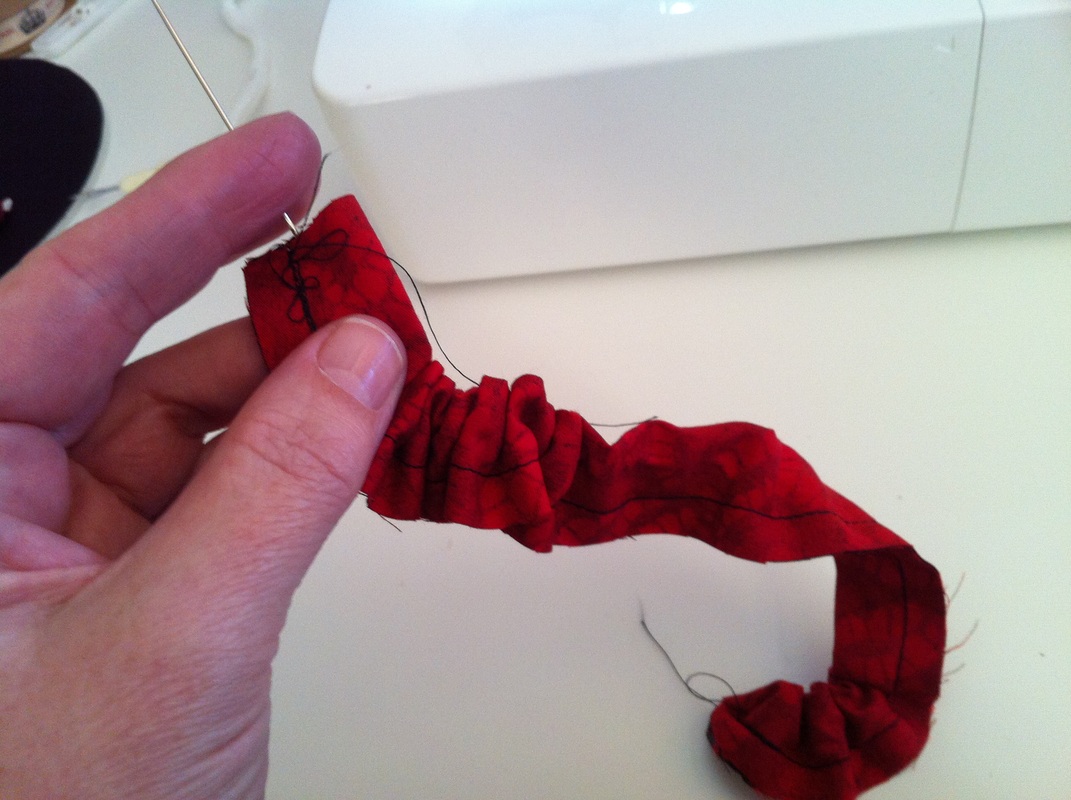
Next, to make the handles before I sew on the outer fabric...
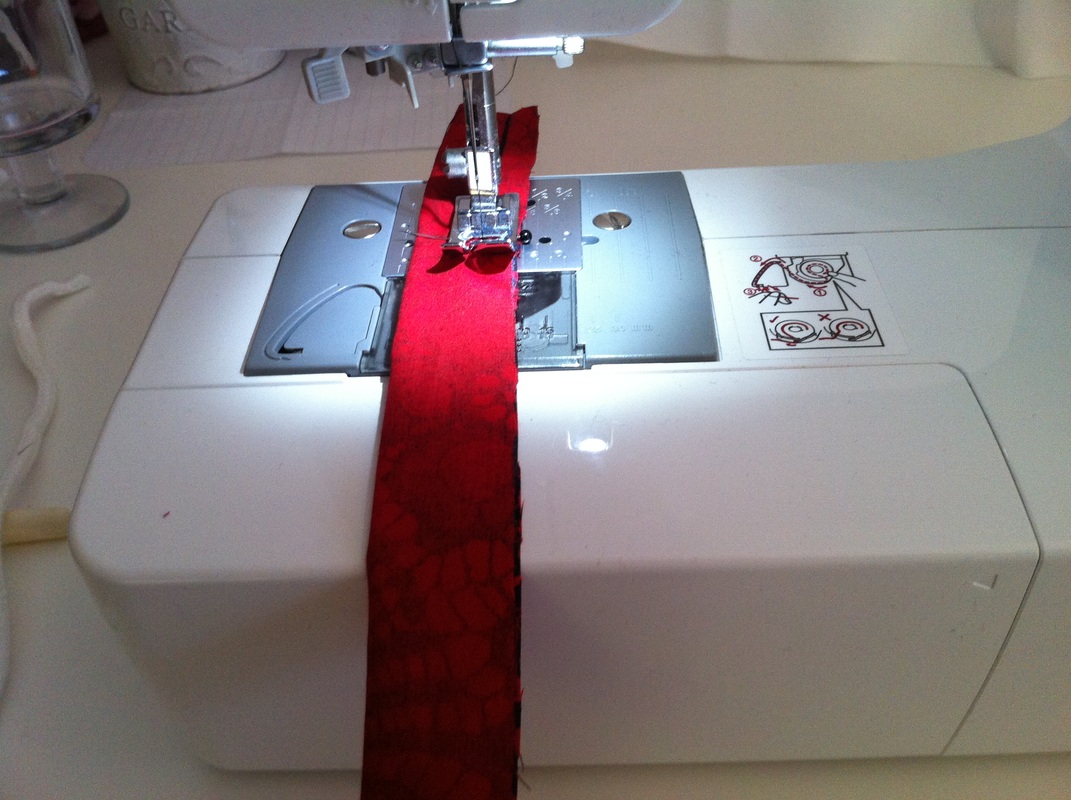
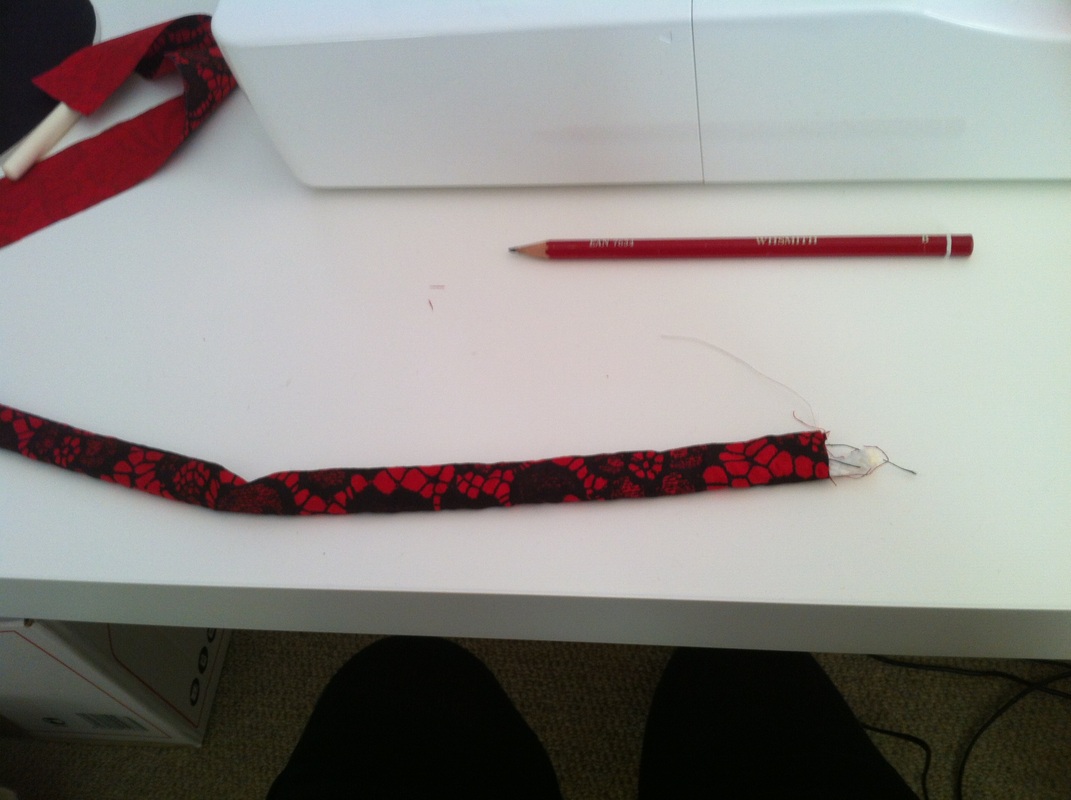
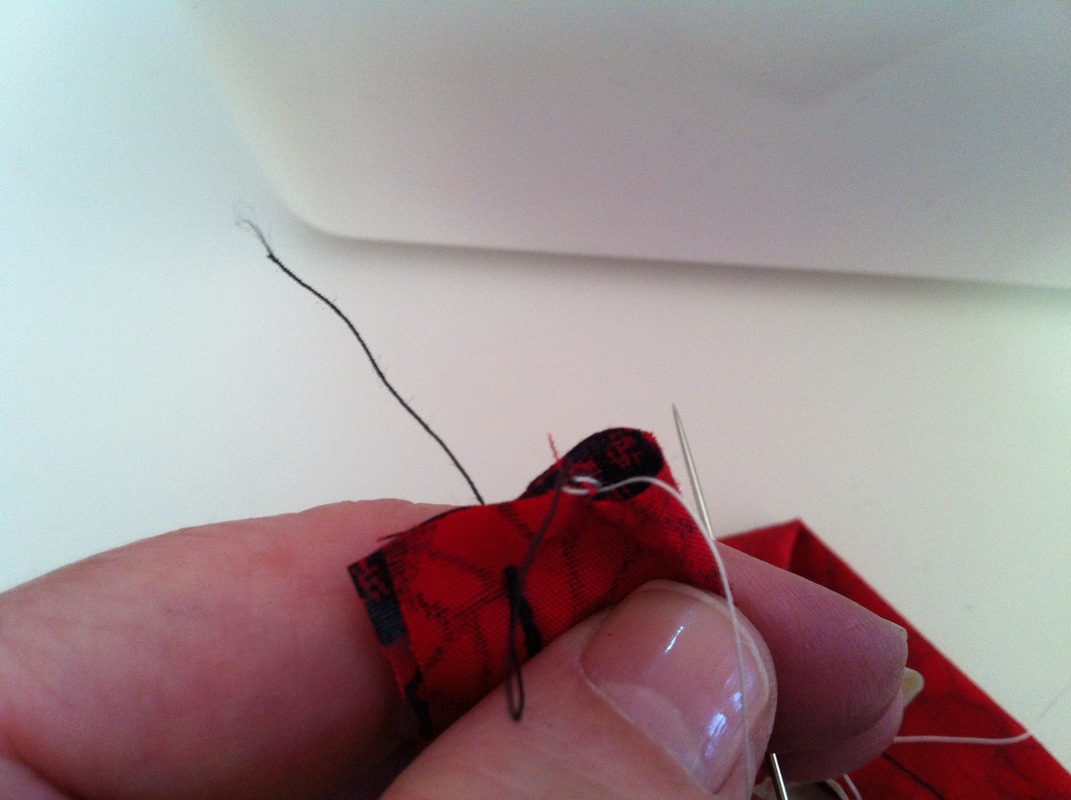
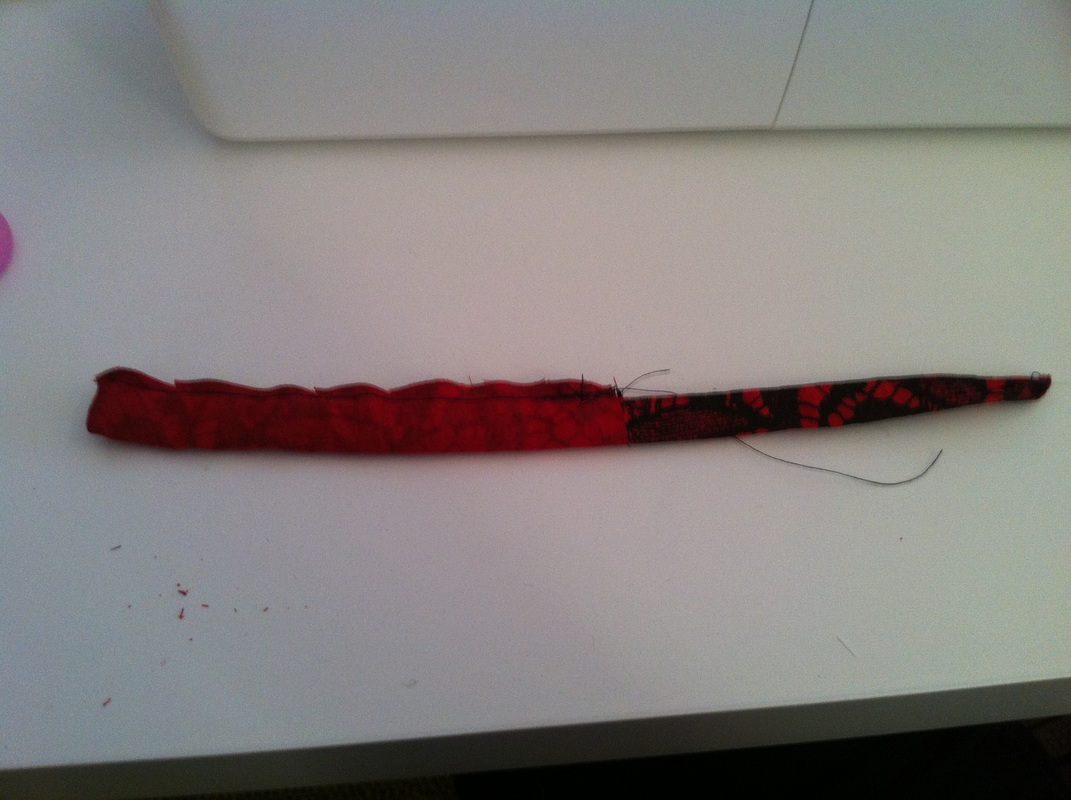
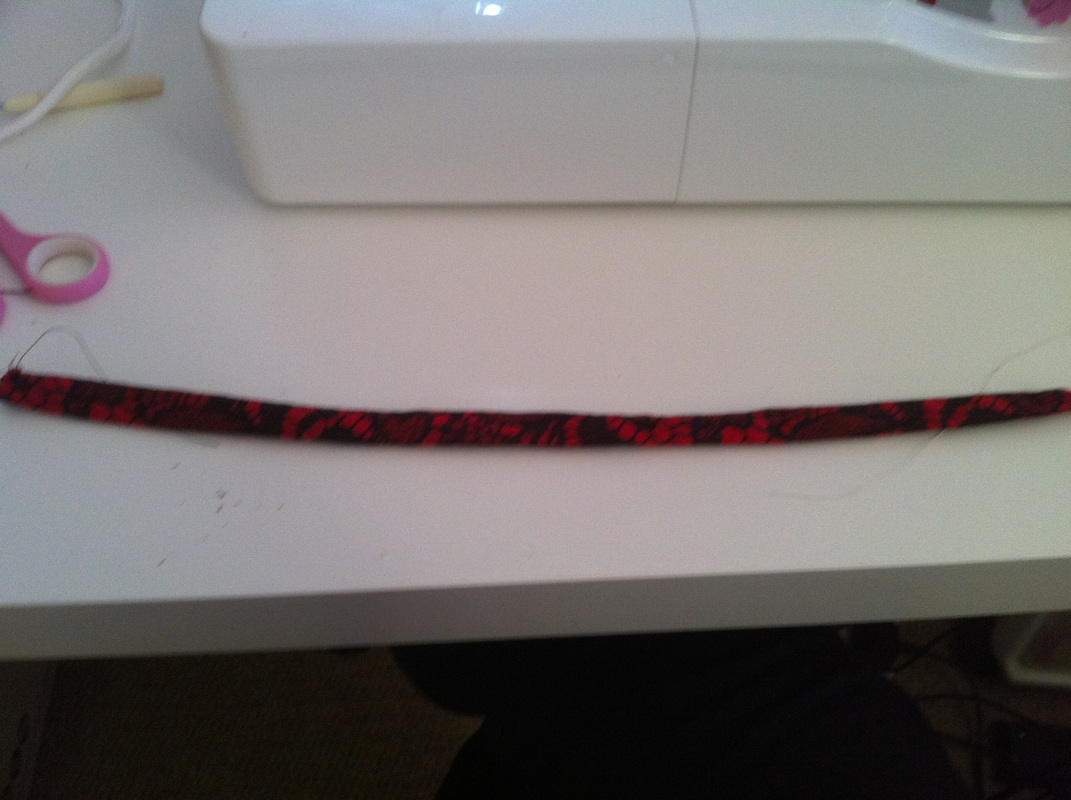
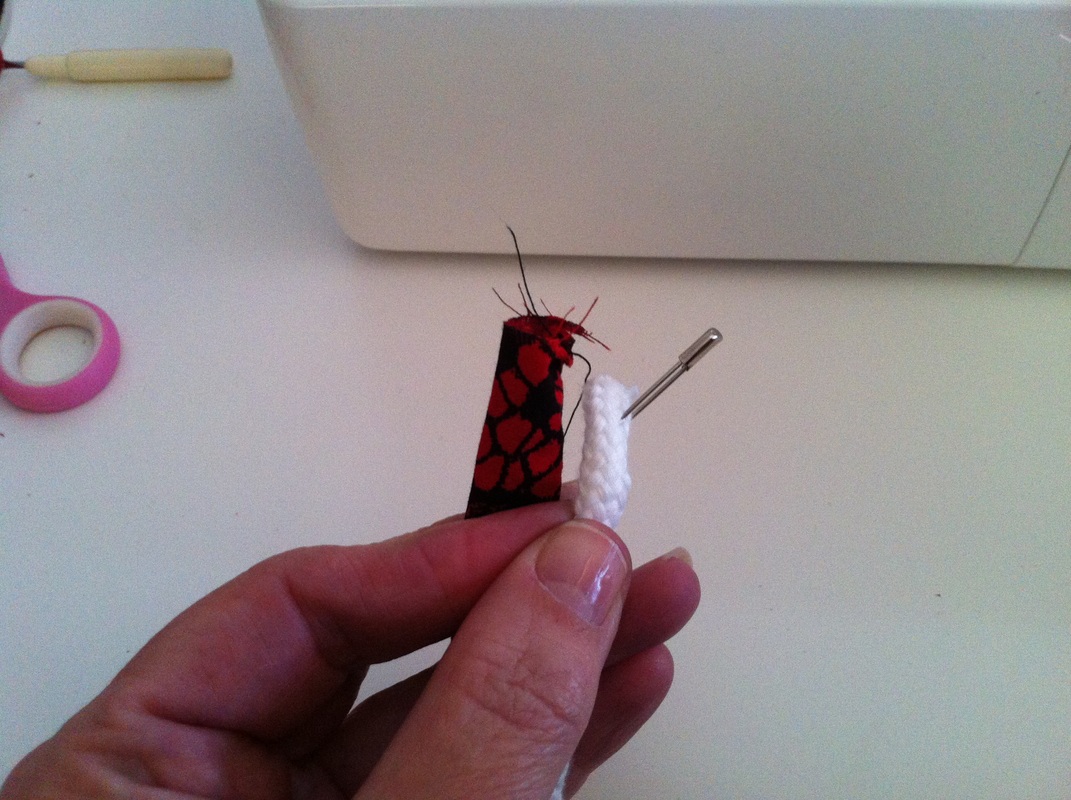
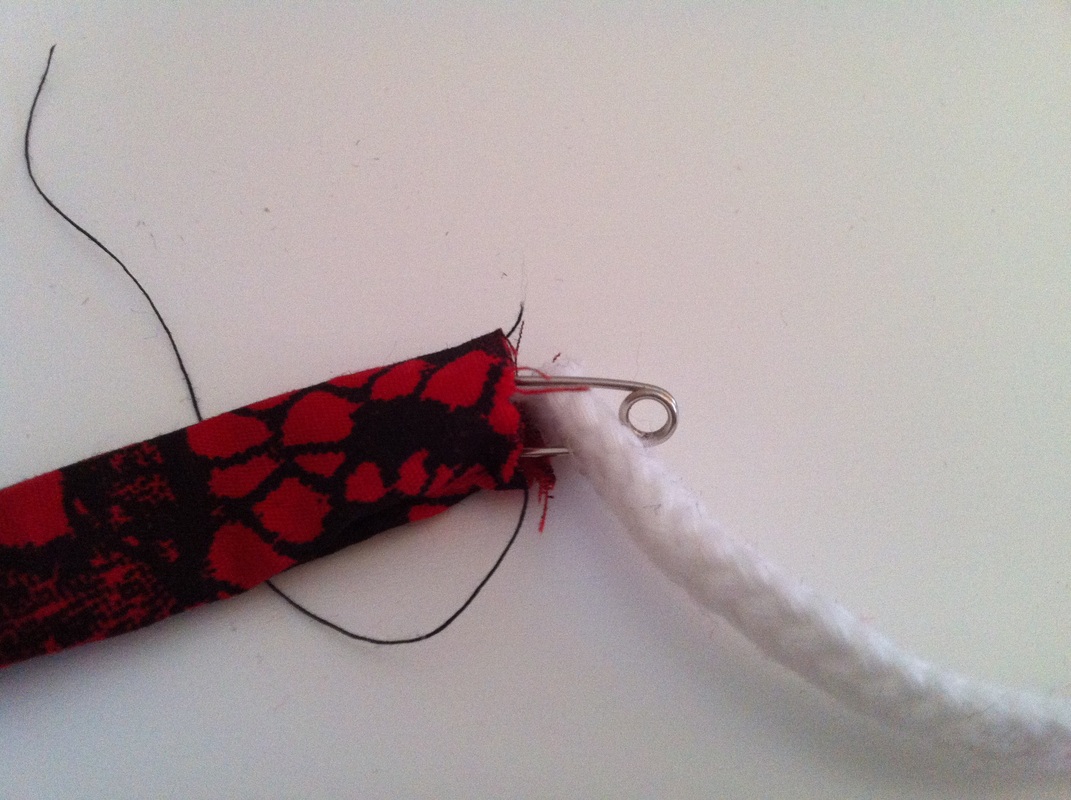
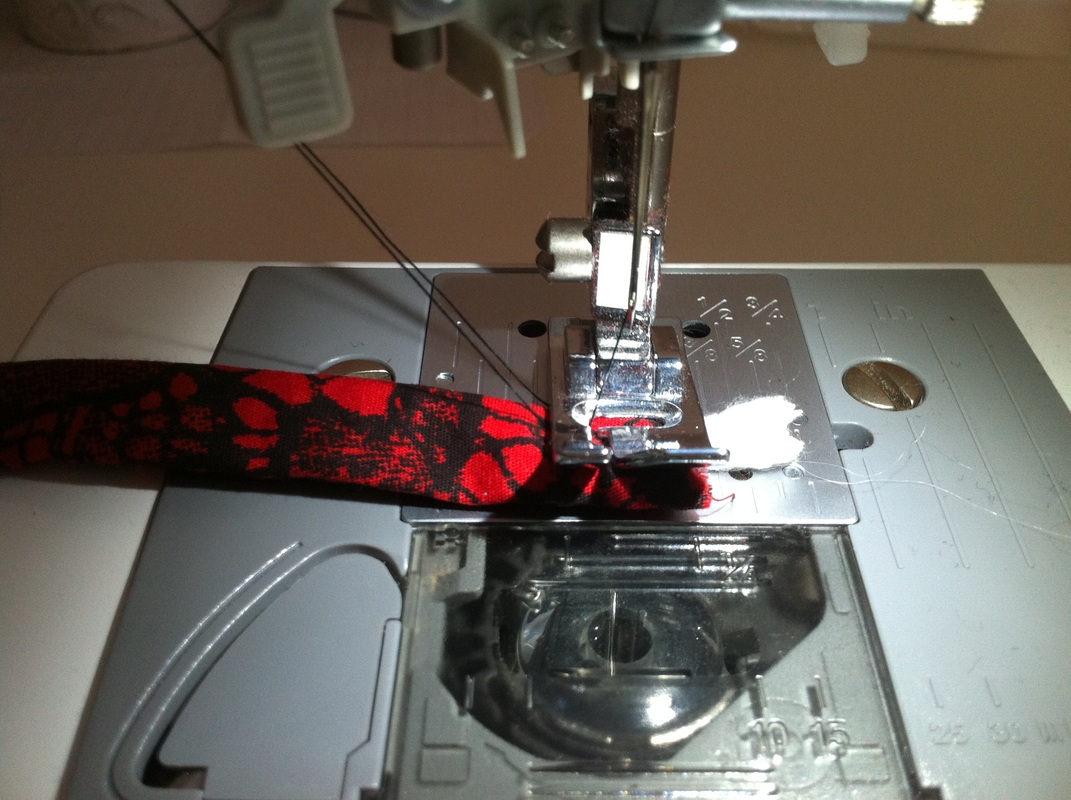
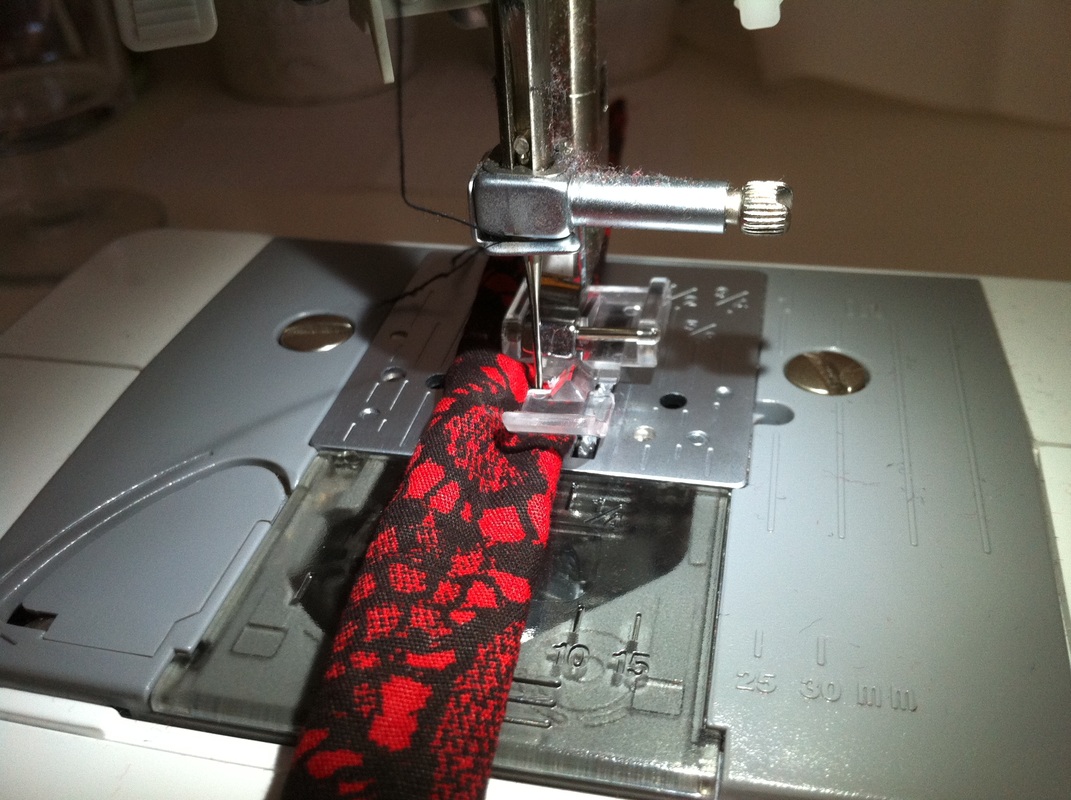
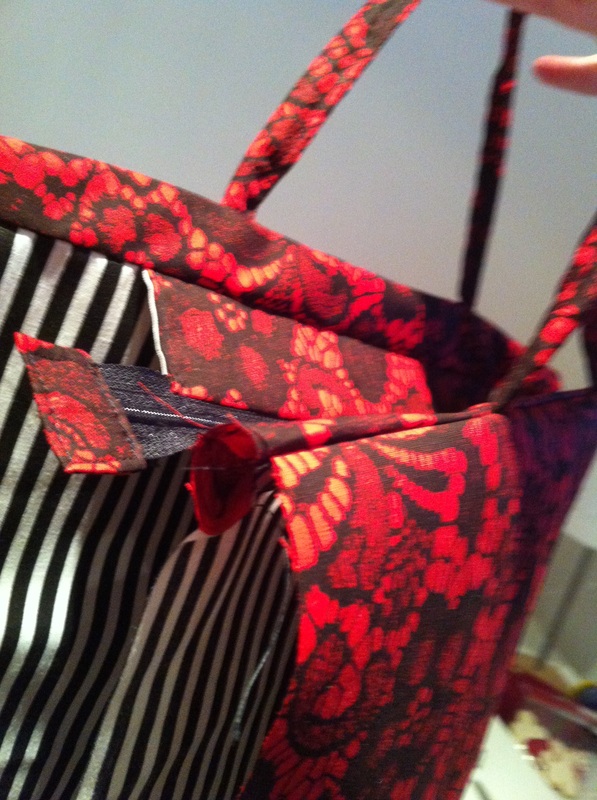
Stitching along the length of one of the handle pieces to make a tube then I had to figure out how to turn it back the right way around! So, I tacked a length of cotton thread to the top an then fed the needle inside the fabric to the bottom. Then gently eased the fabric right side out by pulling it back on itself. There is an easier way if you have a longer length of cord but unfortunately I only had two pieces of cord which were the exact length for the handles. Then simply threaded the cord inside the tube using the old tried and tested safety pin method. :o) Stitched across the two ends to secure the cord in place and then along the length of the cord again to give it a bit of definition.
Stitching along the length of one of the handle pieces to make a tube then I had to figure out how to turn it back the right way around! So, I tacked a length of cotton thread to the top an then fed the needle inside the fabric to the bottom. Then gently eased the fabric right side out by pulling it back on itself. There is an easier way if you have a longer length of cord but unfortunately I only had two pieces of cord which were the exact length for the handles. Then simply threaded the cord inside the tube using the old tried and tested safety pin method. :o) Stitched across the two ends to secure the cord in place and then along the length of the cord again to give it a bit of definition.

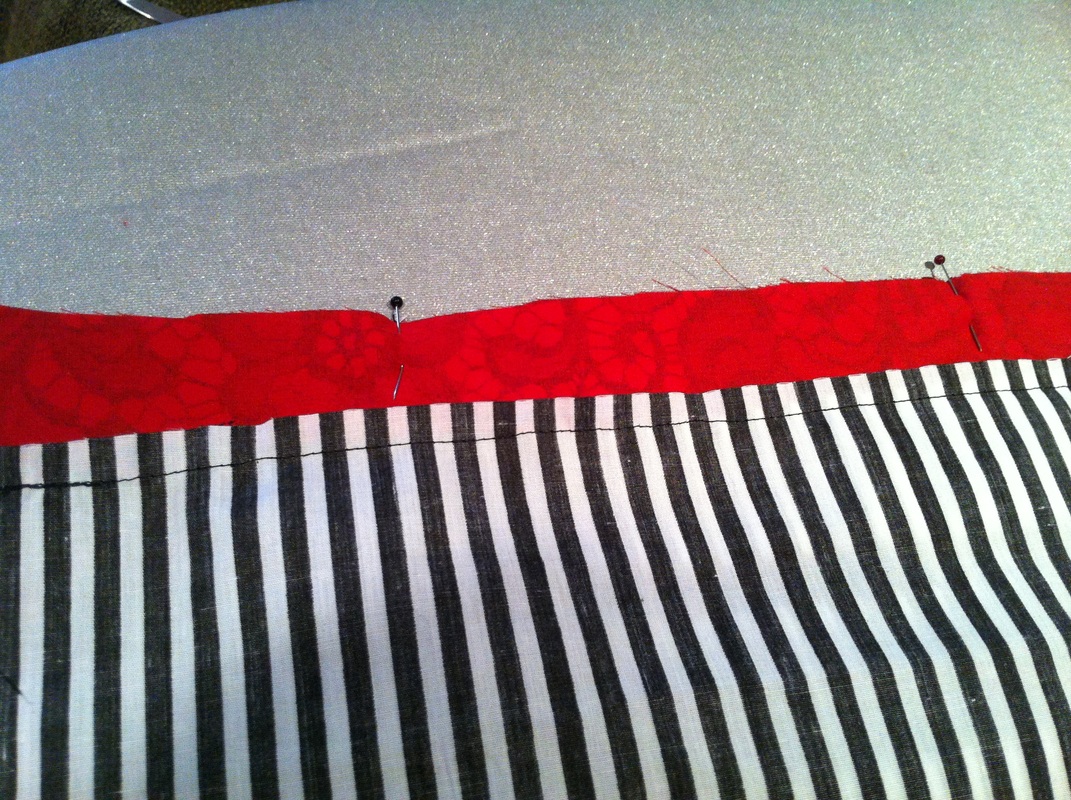
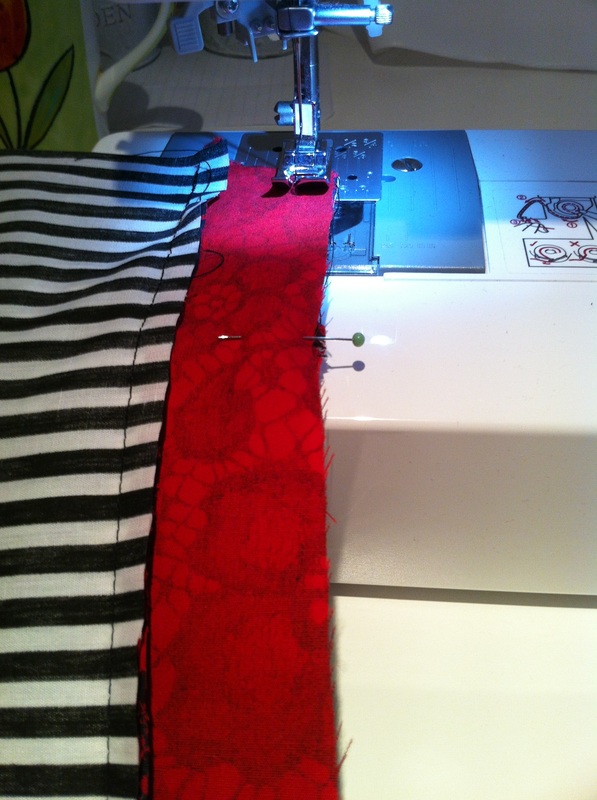
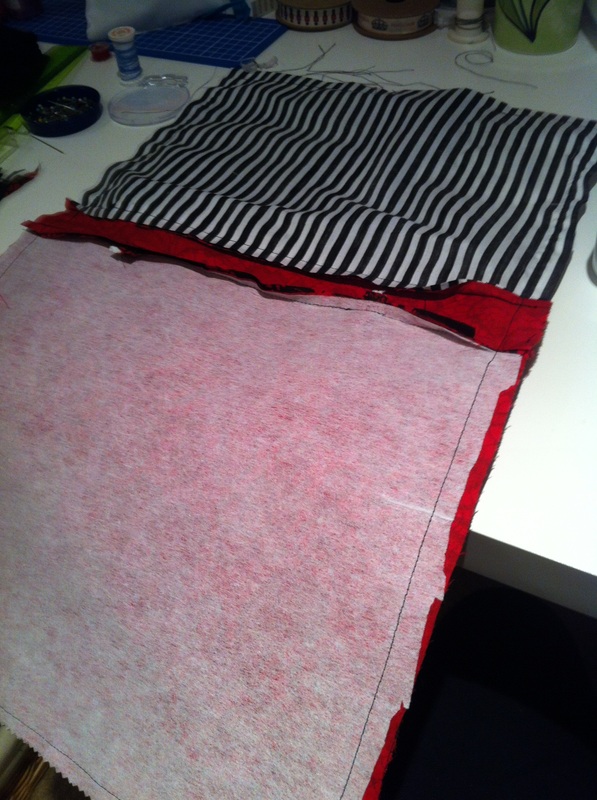
Ironed on the fusible lining to the wrong side of the outer fabric pieces and then pinned the handles in place on the right side before stitching the outer section of the bag to the zipper section.
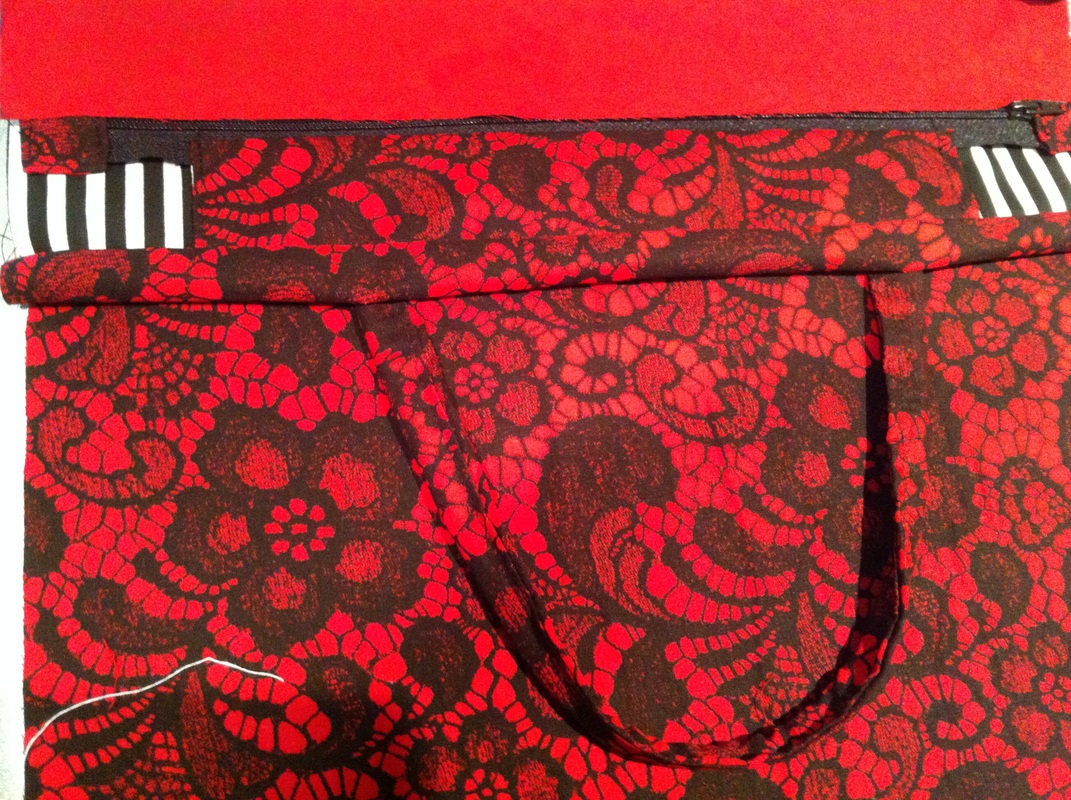
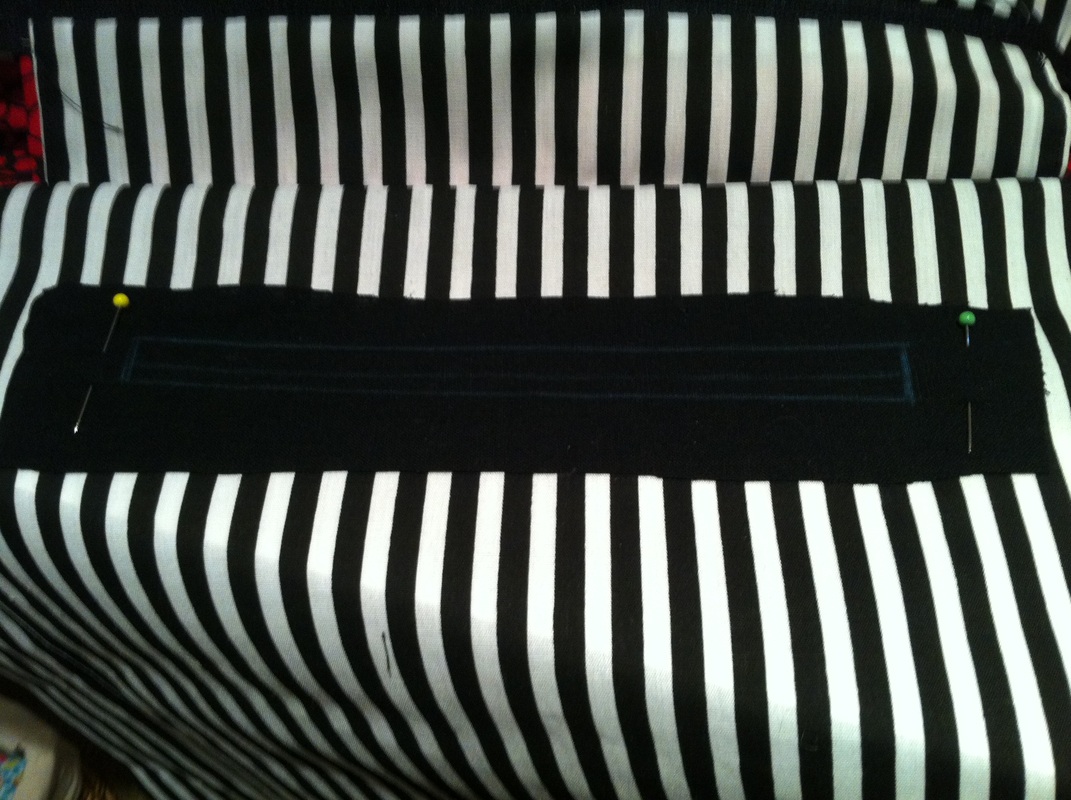
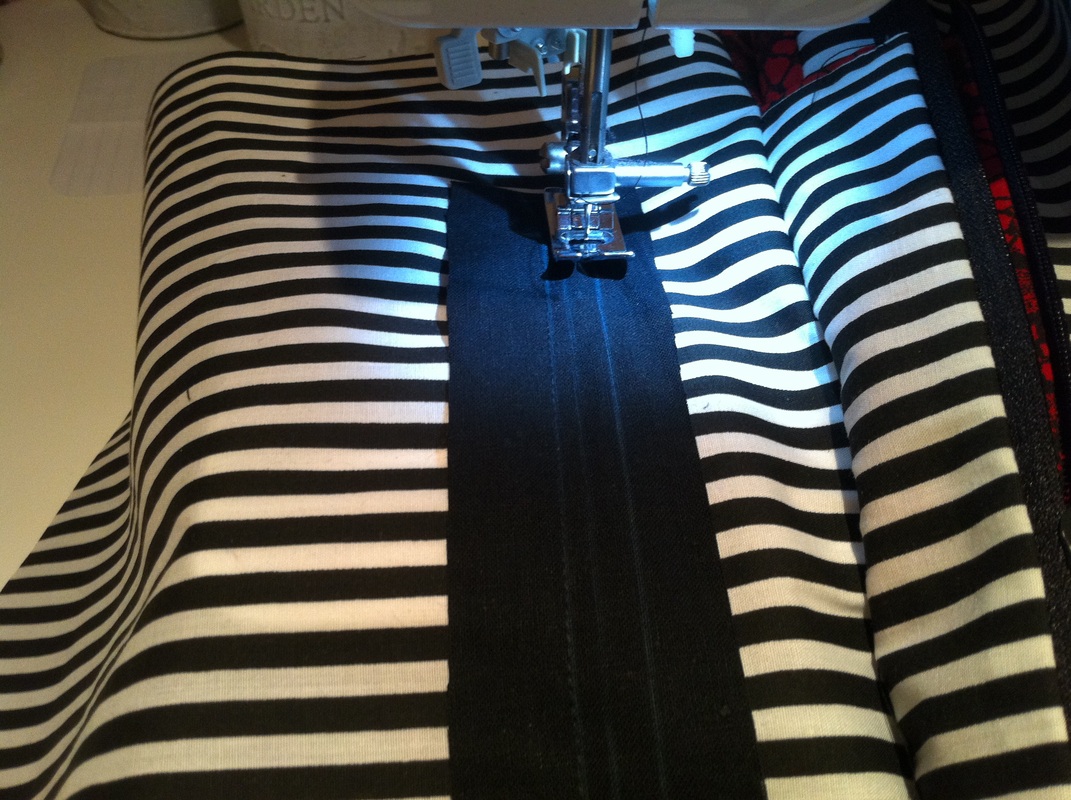
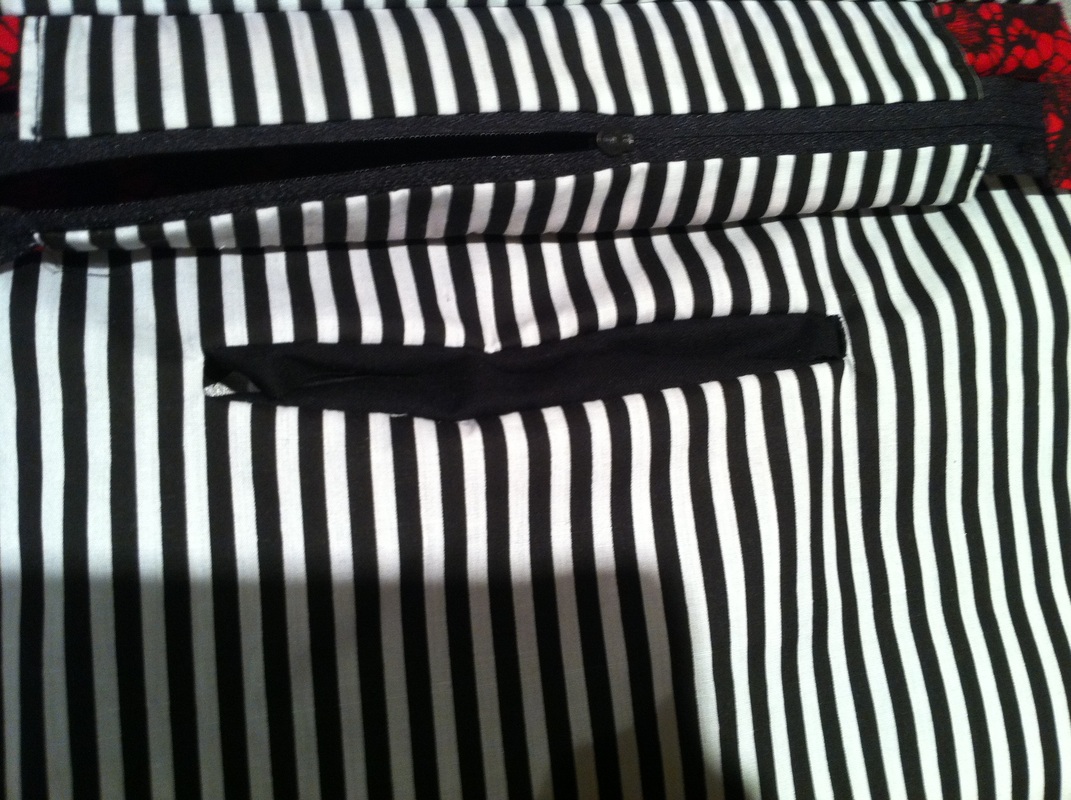
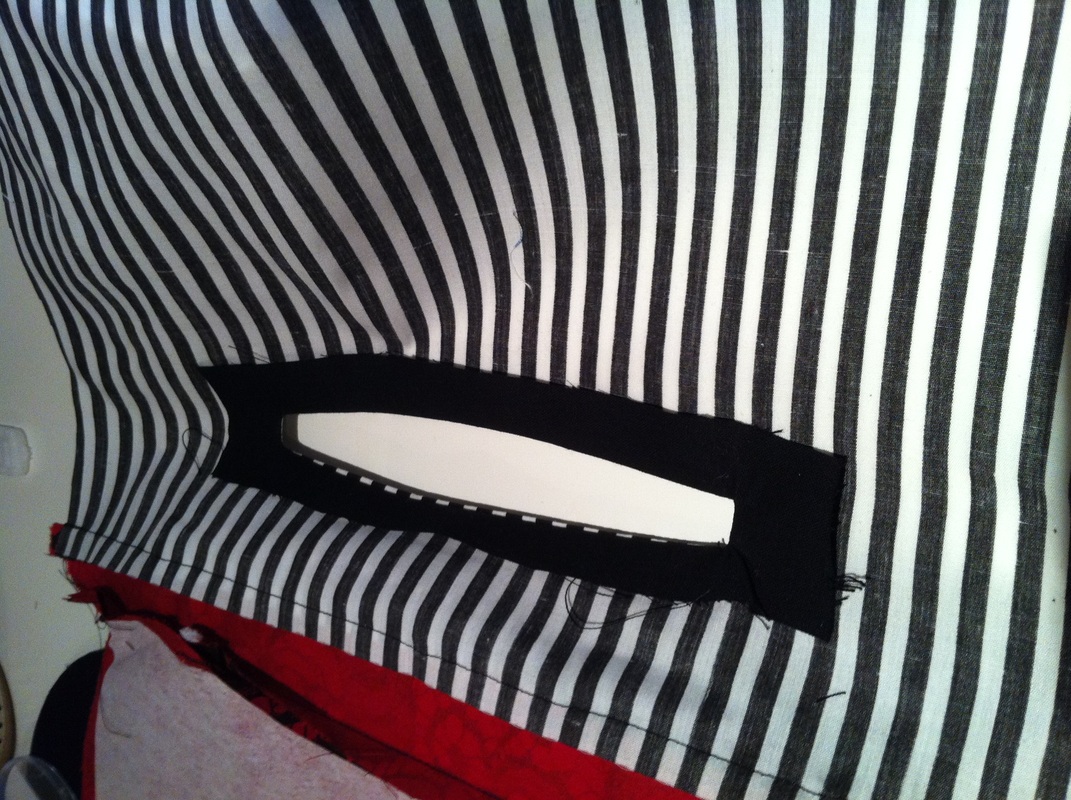
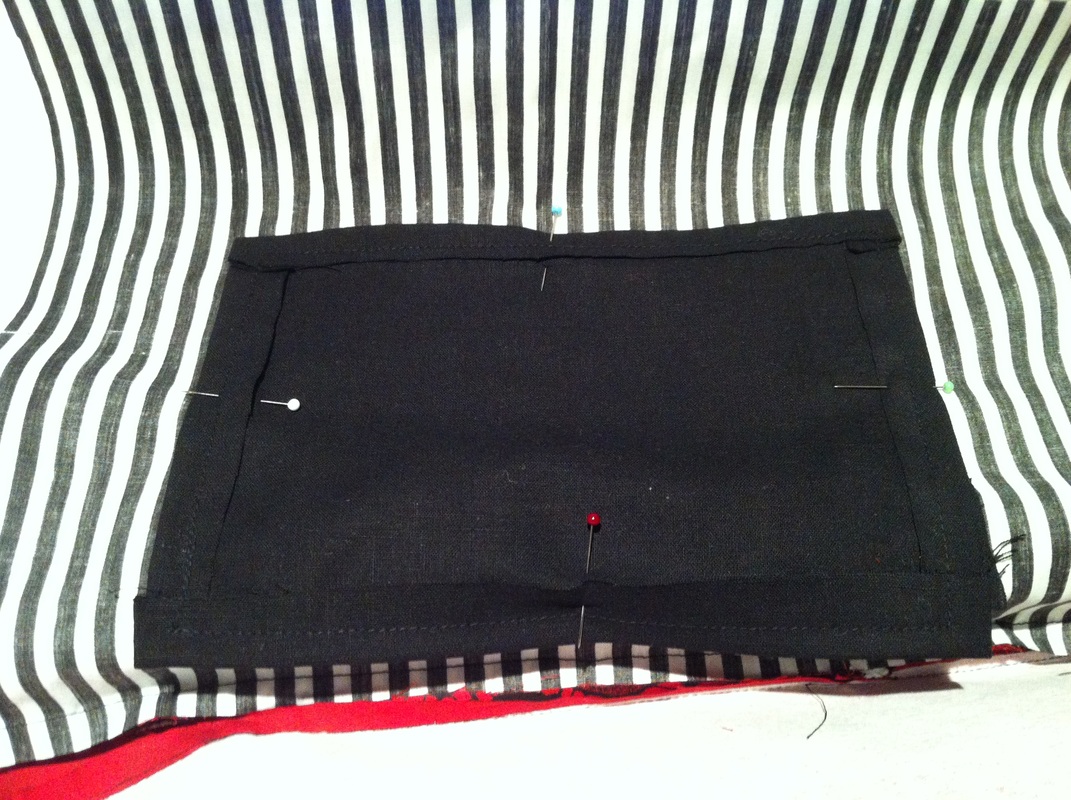
Now it was at this point, just before sewing around the lining and outer fabric to finish off the bag that I thought about putting in an internal pocket. I know, I know... should have thought about that earlier and done it in the lining piece before starting but I still had the opportunity to... Sewed in a lining piece to make a neater edge for the zip to attach to, then stitched in the pocket lining piece onto the wrong side of the lining so it's sandwiched in between the lining and outer fabric making it hidden.
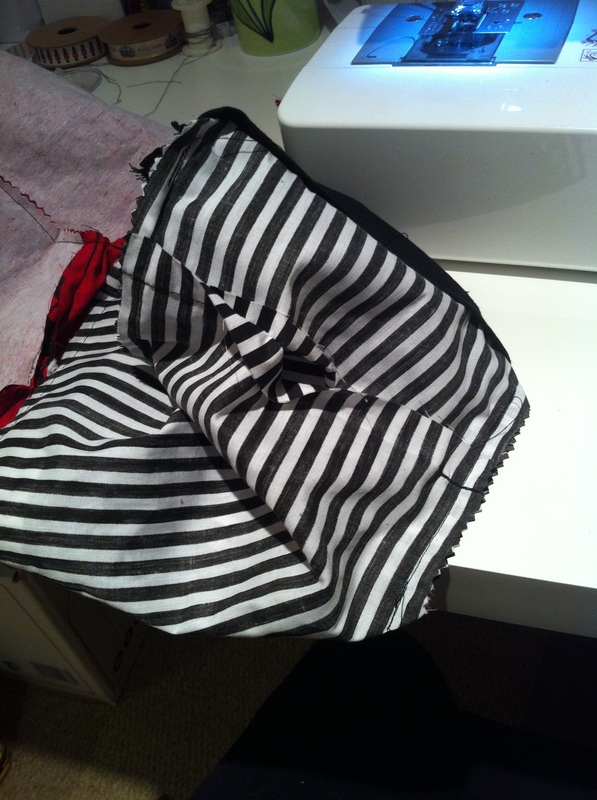
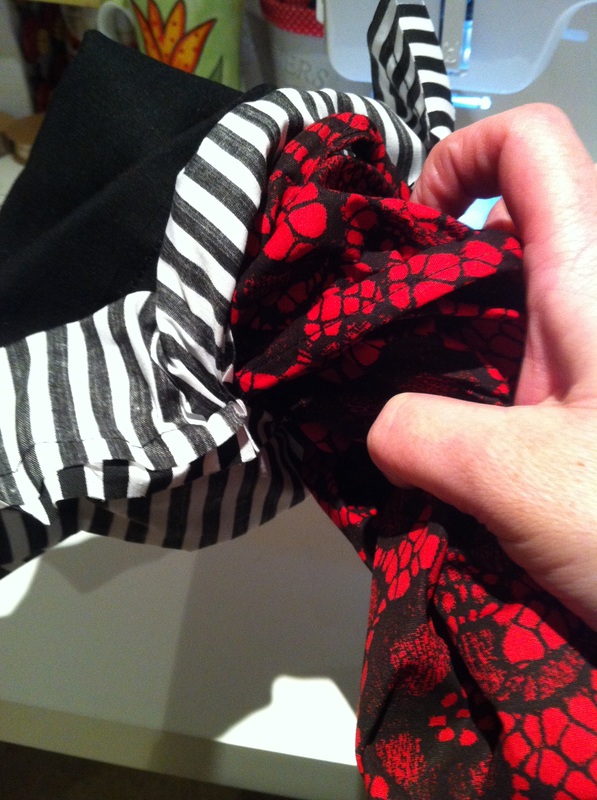
Lined up the right sides of the lining fabric together and then the outer fabric and pinned all around. Sewed around the entire piece leaving a small gap for turning right sides out. But before doing that I boxed out the corners of the bag by sewing across a triangle some 2.5-3 inches from the corners to make a square bottom and a tapered shape to the bag. Turned it right side out through the gap in the lining, stitched the gap with a simple top stitch (the bag is not built to be reversible and you won't see the bottom when you have it full anyway) Then we're almost done...
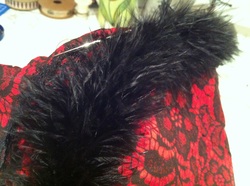
All that's left to do is to hand sew the marabou and lace trims together and all around the top of the bag.... and then creativity got the better of me again.
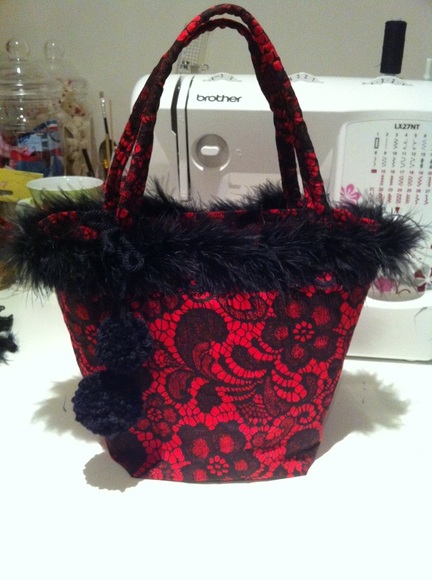
I've just purchased a pom pom maker (as seen in Kirsties Crafty Christmas) and have been going a little bit pom pom crazy with my yarn stash! So what better than to make a couple of black pom poms just to finish it off...
I've just purchased a pom pom maker (as seen in Kirsties Crafty Christmas) and have been going a little bit pom pom crazy with my yarn stash! So what better than to make a couple of black pom poms just to finish it off...
Then, ta da! We're done! :o)
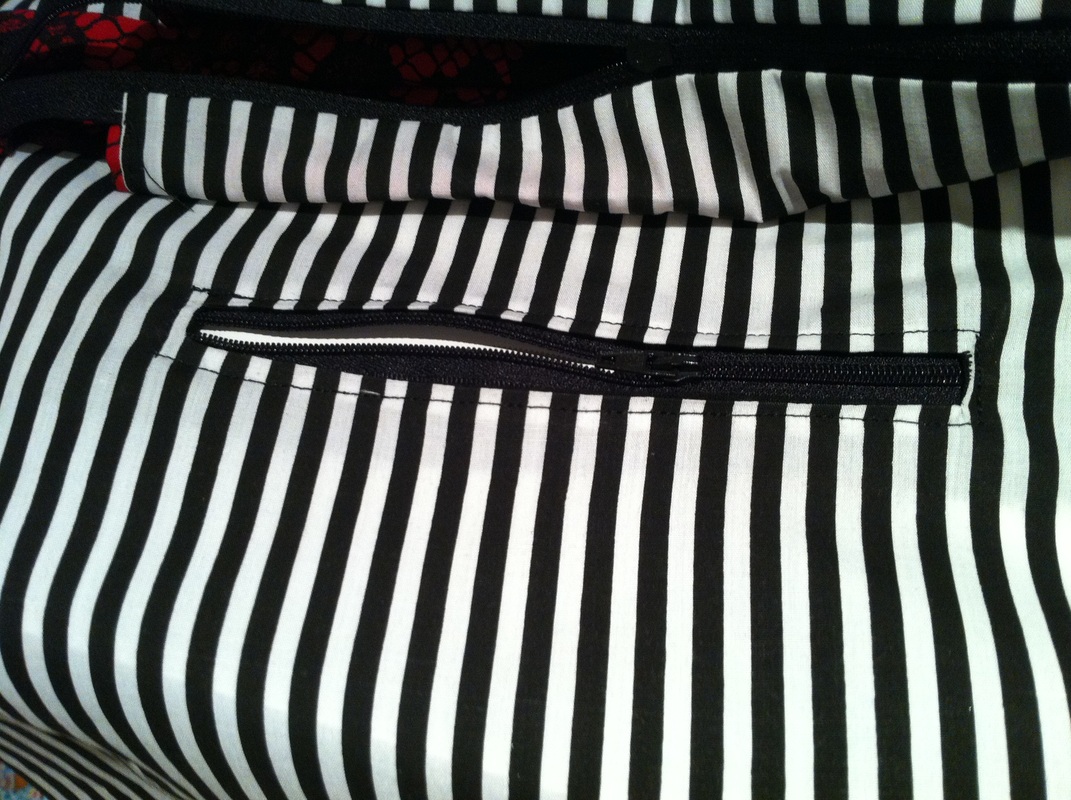
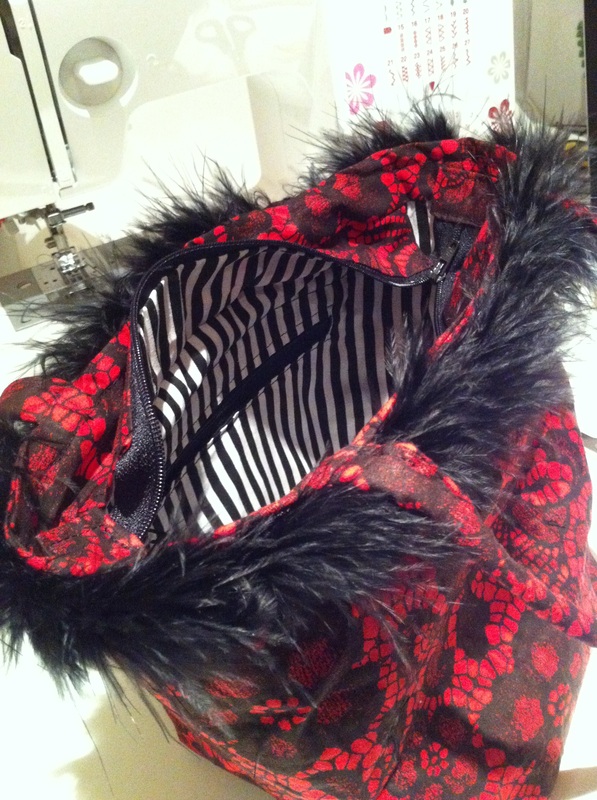
...and with an inside pocket too...

 RSS Feed
